How to Configure Event Trigger for CCTV Integration with xPortalNet HS PS v2.0 Client Software
Problem (Issue) Statement: | How to configure event trigger for CCTV integration with xPortalNet HS PS v2.0 Client software? |
Description: | To configure event trigger for CCTV integration with xPortalNet HS PS v2.0 Client software. |
Related Software: |
|
Related Hardware: |
|
System Application: | Access Control System with CCTV integration |
Symptom and Finding: | NA |
Cause: | For first guide to configure event trigger for CCTV integration with xPortalNet HS PS v2.0 Client software. |
Solution: | Summary:
. Note
. Step-by-Step Guide:
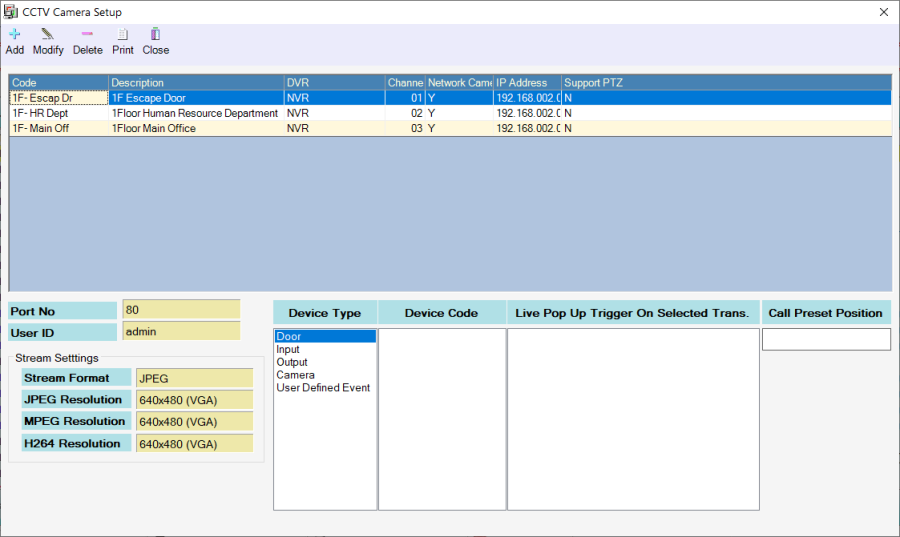
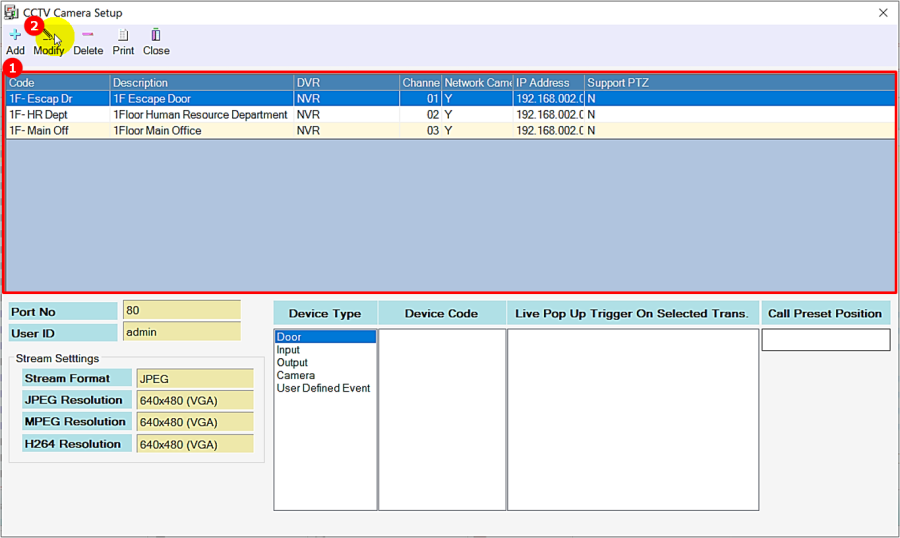
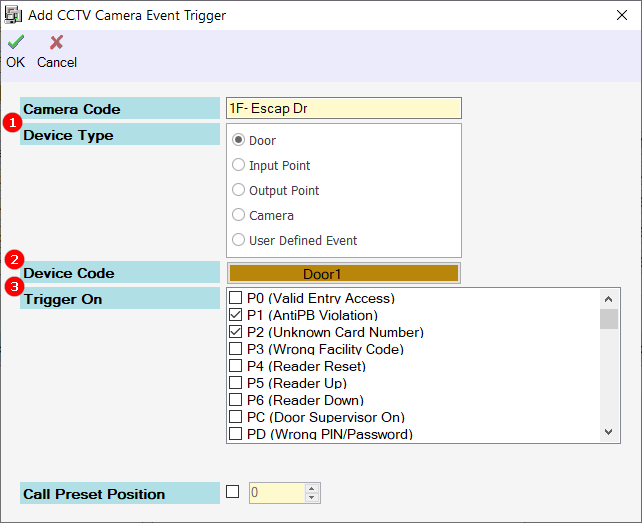
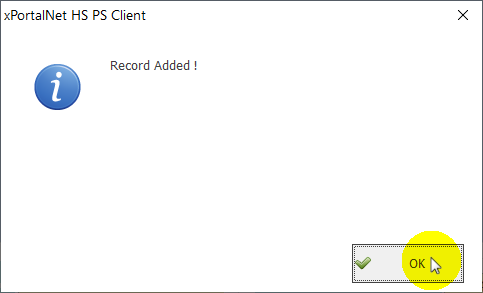
Step 1: Go to xPortalNet Client > Data Setup > System Setting > CCTV Camera Setup. The CCTV Camera Setup window will be shown as below. . Step 2: Select the specific camera used to configure the event trigger and click Modify to continue. . Step 3: The Edit CCTV Camera window will be shown. At the Events Trigger section, click Add to continue. . Step 4: Next, the Add CCTV Camera Event Trigger widow will be shown. Fill in all information accordingly. . . Step 5: Click OK to save change. . Step 6: The xPortalNet HS PS Client will prompt the following message to indicate that the Record Added. Click OK to exit. |
Date Documentation: | 25/1/2018 (Rev 1.0) |
PROOF-READ
.
.
.
© MicroEngine Technology Sdn Bhd (535550-U). All rights reserved.


