How to Analyze and Defragment Hard Disk for xPortalNet Server PC
Problem (Issue) Statement: | How to analyse and defragment hard disk for xPortalNet Server PC |
Description: | Every hard drive dies eventually, and when it's near death, user will see the signs: strange noises, corrupted files, crashing during boot and very slow transfer speeds all point towards the inevitable end. This is normal, especially if your drive is more than a few years old. On older spinning drives, moving parts like the motor can degrade over time, or the drives' magnetic sectors can go bad. Here, this KB article will provide some simple guidelines to help user monitor disk health, analyse and defragment or consolidate files. Defragmenting hard drive improves user's computer performance. |
Related Software: | NIL |
Related Hardware: |
|
System Application: | NIL |
Symptom and Finding: | NIL |
Cause: | For first time guide to analyse and defragment hard disk for xPortalNet Server PC. |
Solution: | Summary:
. Step-by-step Guide:
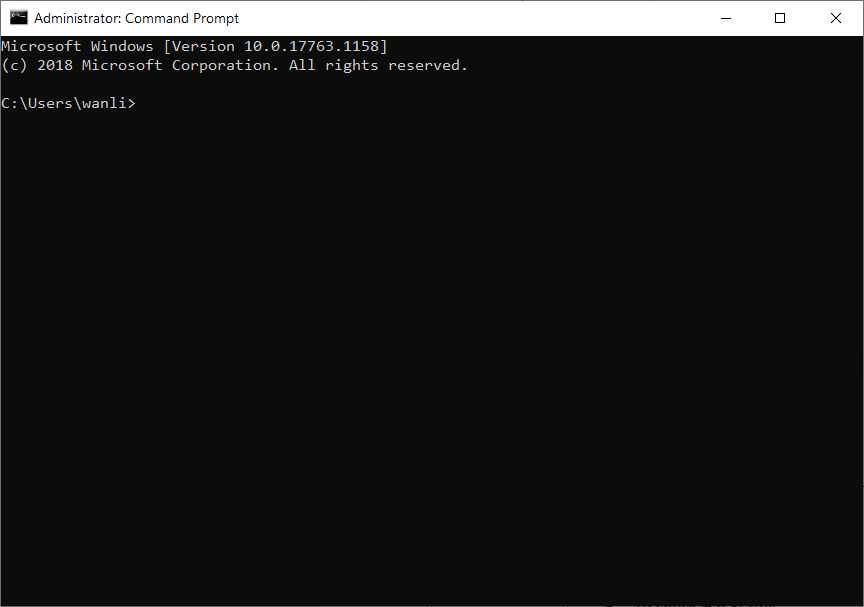
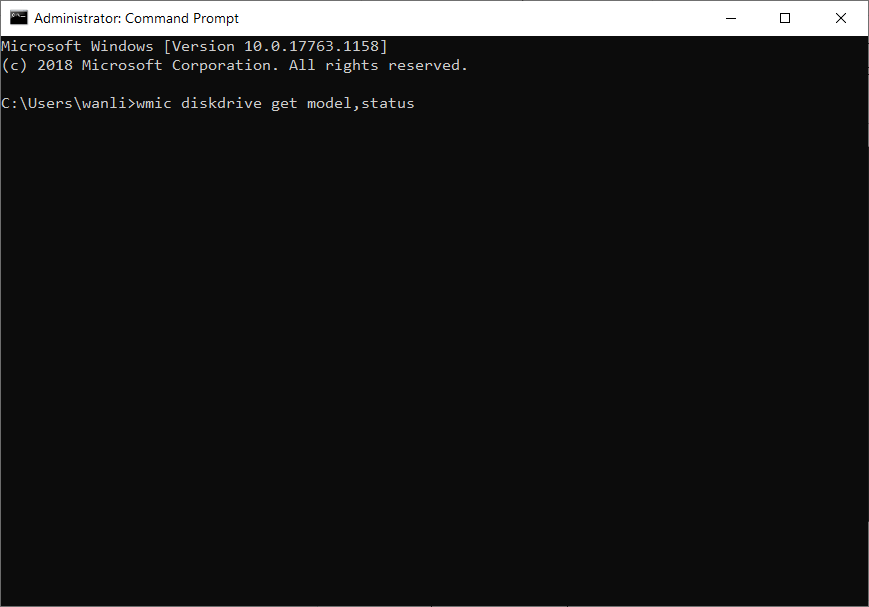
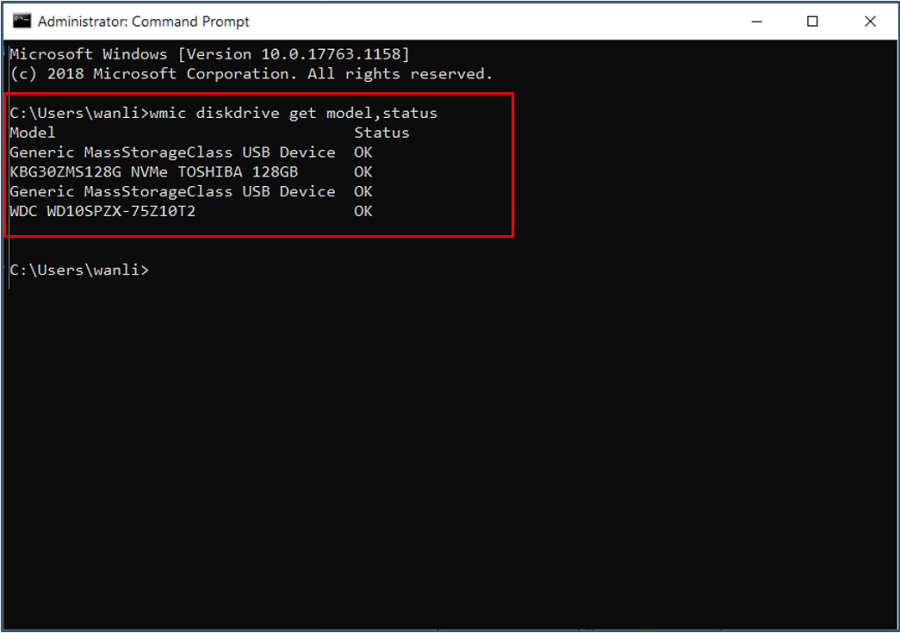
Step 1: Most modern drives have a feature called S.M.A.R.T (Self-Monitoring, Analysis, and Reporting Technology) that monitors different drive attributes in an attempt to detect a failing disk . Step 2: In Windows operating system, user can quickly check the S.M.A.R.T status from Command Prompt. Go to Start > Run > type cmd in the search bar and press Enter. . Step 3: The Command Prompt window will be shown. . Step 4: Type wmic diskdrive get model,status and press Enter. . Step 5: It will return the result with hard drive model and status. The Command Prompt will return the result Pred Fail if the hard drive is starting to experience problems, or OK if the drive is doing fine. . .
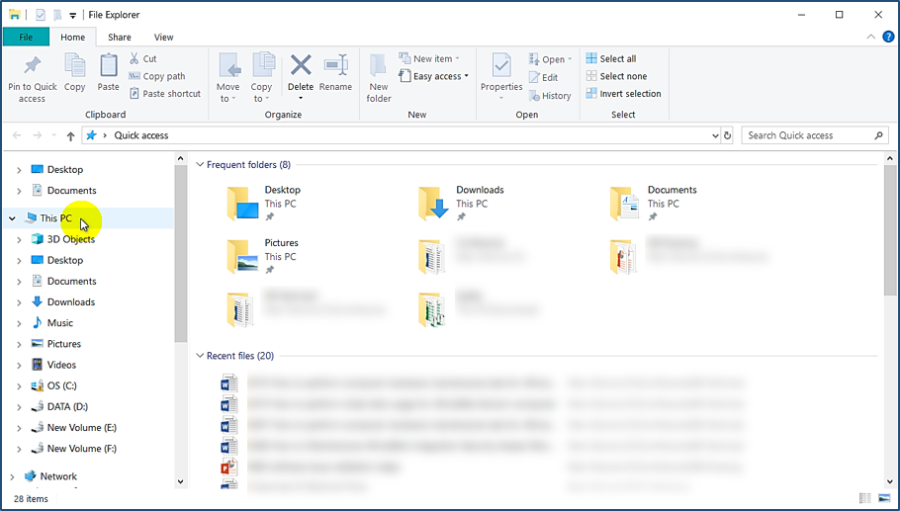
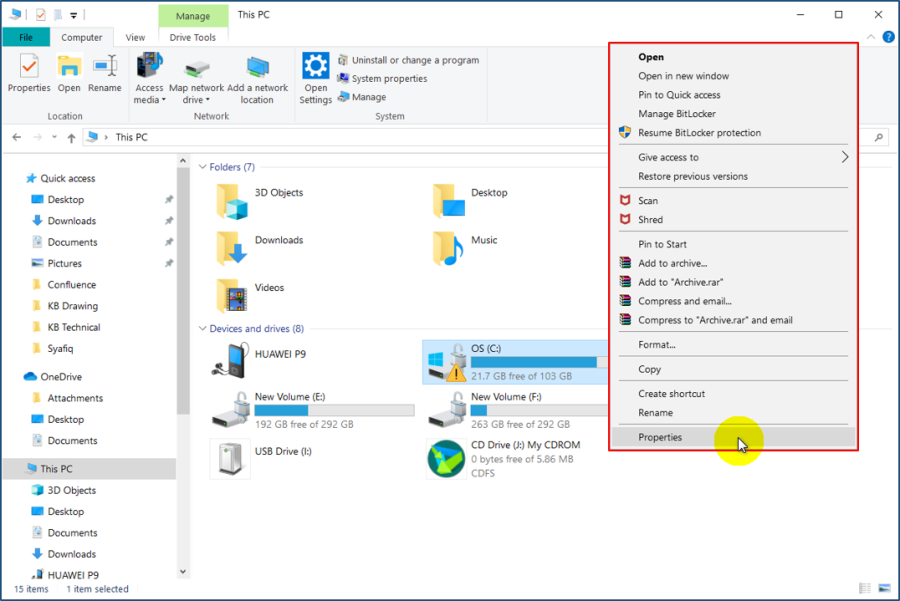
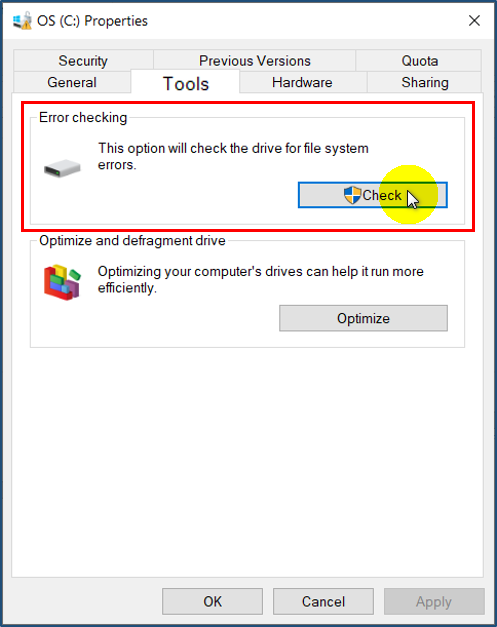
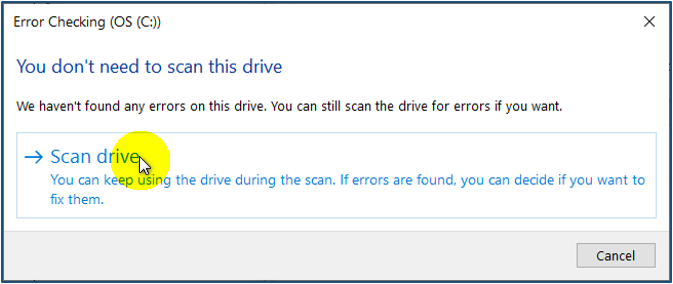
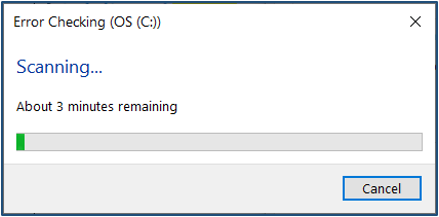
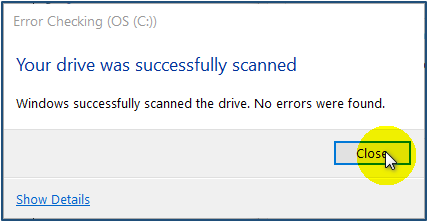
Step 1: Windows has a handy feature called CHKDSK (Check Disk) that to analyse hard drive error and run repair automatically. It can be a lifesaver for dealing with (non-physical) hard drive faults. . Step 2: Open new File Explorer window. Press Windows Key + E and click This PC. . Step 3: Next, the This PC window will be shown. Right-click on specific drive that user wish to scan, most commonly this will be C: Drive or D: Drive. Then select Properties. . Step 4: The Properties window for the selected drive will now open. Click the Tools tabs and click Check under the Error checking section. . Step 5: The Error Checking window will show. If the computer thinks everything is running smoothly, it'll show a window stating that you don't need to scan the drive at all. However, if you'd prefer to run a CHKDSK scan, you can proceed by clicking Scan drive below this. . Don't worry, you can't do any damage to your PC by running this scan process. . Step 6: The Error Checking message will be shown and indicate the scanning process, which could take a few minutes to about half an hour. This depended on the size of the selected drive and the amount of data stored on it. . Step 7: If all is well, user will receive the "Your drive was successfully scanned" message and no errors were found. Click Close to complete the process. However, if the CHKDSK scan does find error, it will attempt to fix what it can. . .
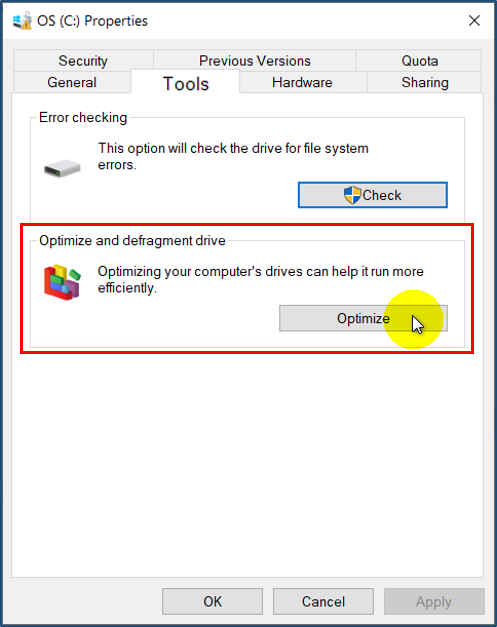
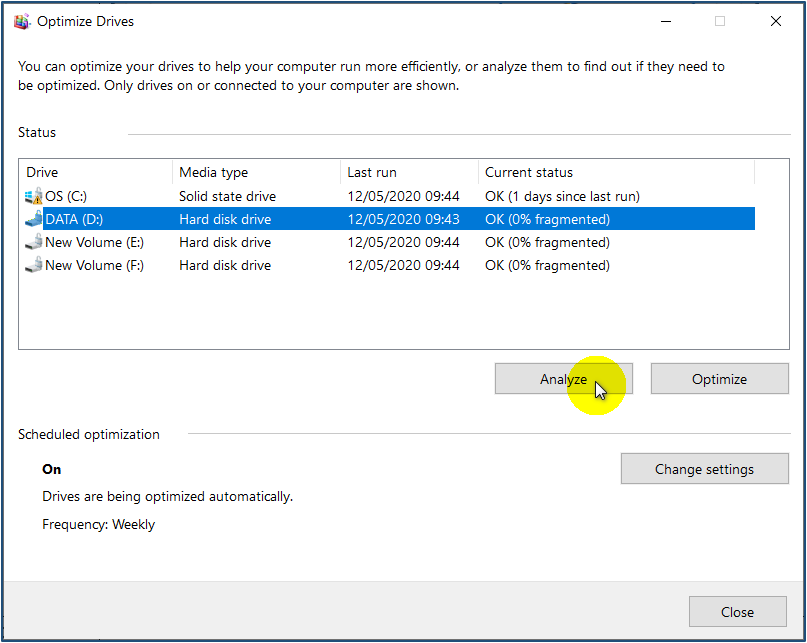
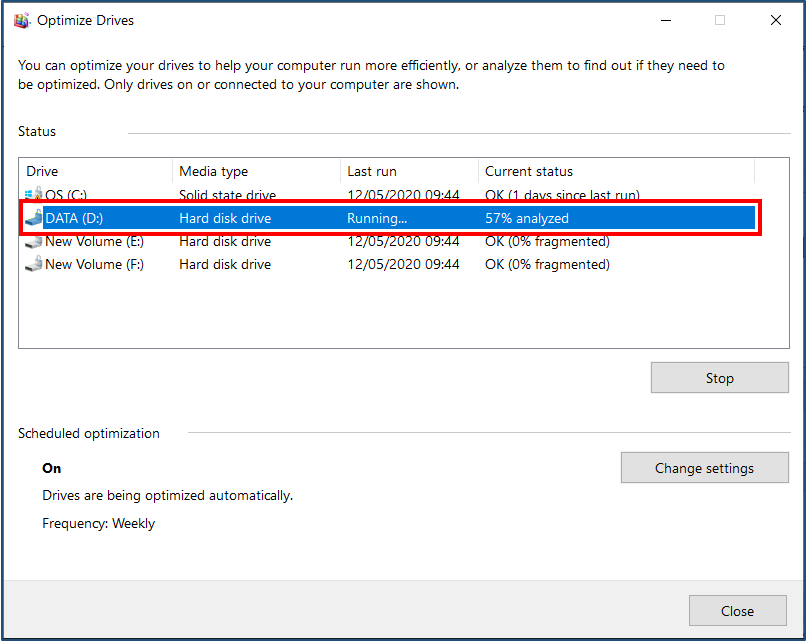
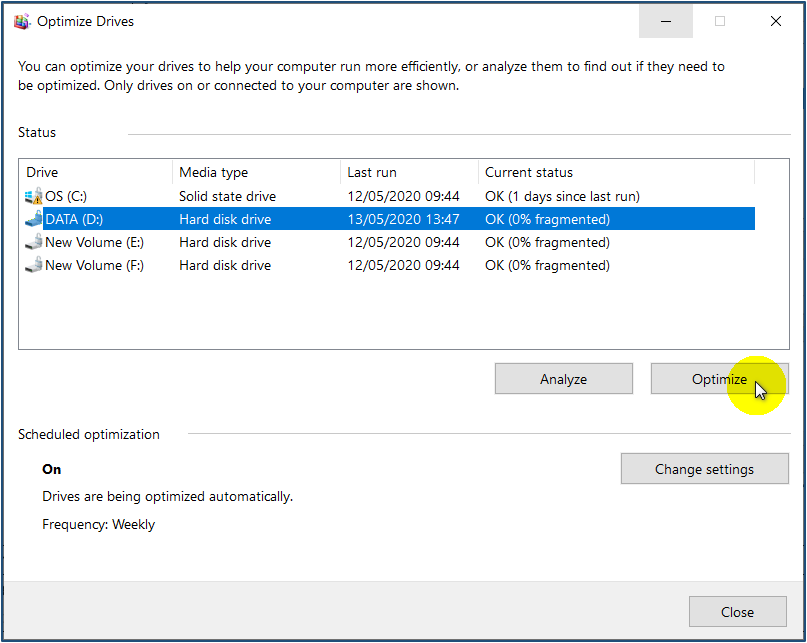
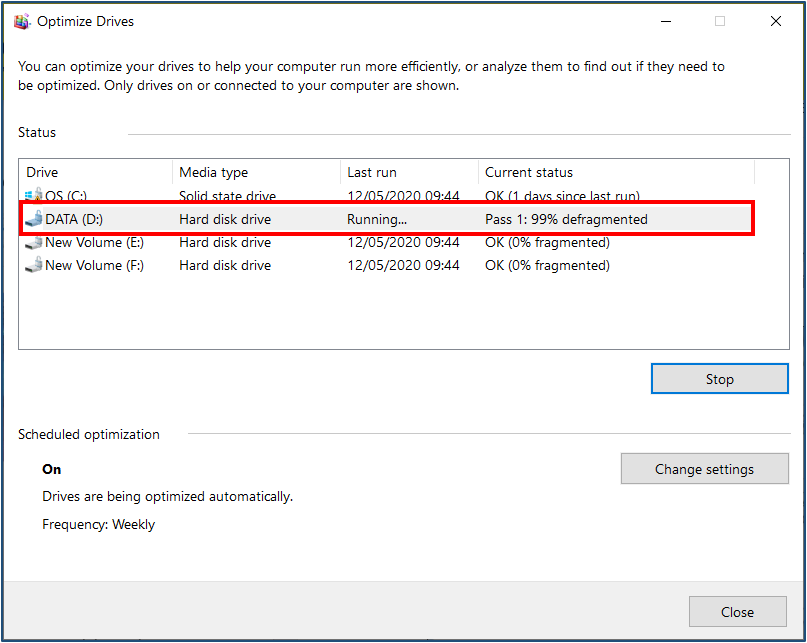
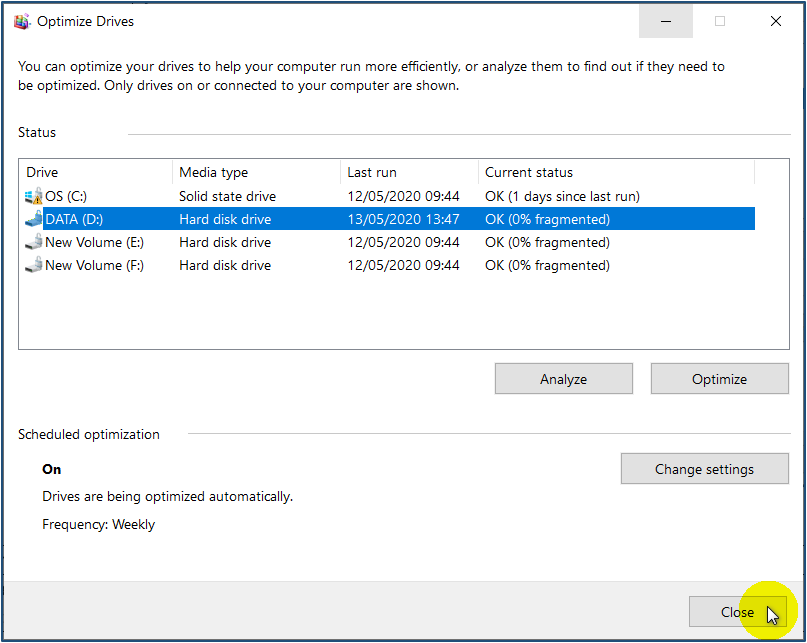
Step 1: Defragmenting hard drive improves computer's performance and is something that should be done regularly. Warning! Disk defragmenting may take a while. If you have energy-saving features active (such as a screen saver), they can cause the defragmenter to stop and start all over again. Try running defragmenting process overnight. You can also set up the procedure to run automatically at a pre-set period of time, such as once every week, by using the Configure Schedule button in the Disk Defragmenter window. . . Knowledge Base Link User can refer How to Defragment Hard Disk by Schedule in Windows for xPortalNet Server PC to perform this process. . . . Step 3: The Properties window for the selected drive will be show. Here, click the Tools tabs and click Optimize under the Optimize and defragment drive section. . Step 4: The Optimize Drives window will be shown. Select the drive that user wish to defragment, most commonly this will be C: Drive or D: Drive. Then select Analyze. . Step 4: A notation will then display the process of analyzing the drive. . Step 5: When the analyze process completes, click Optimize. . Step 6: A notation will then be shown to display the process of defragmenting. . Step 7: When the defragmenting process is complete, click Close. Back at the Properties window click OK to exit. |
Common Issue | NIL |
Date Documentation: | 12/5/2020 (Rev 1.0) |
PROOF-READ
.
Related Articles.
Containing the label "system-maintenance"
.
.
© MicroEngine Technology Sdn Bhd (535550-U). All rights reserved.
