How to Add Controller, Connection, and Door Settings in xPortal3000 Software Using New Controller Wizard
| Problem (Issue) Statement: | How to add controller, connection, and door settings in xPortal3000 software using New Controller Wizard |
| Description: | The New Controller Wizard is a tool created to guide users step-by-step to add a new controller, connection, and door settings in the xPortal3000 software. |
| Related Software: |
|
| Related Hardware: | NIL |
| System Application: | NIL |
| Symptom and Finding: | NIL |
| Cause: | For first time guide on how to add controller, connection, and door settings in xPortal3000 software using New Controller Wizard. |
Warning!
. . Summary:
. Step-by-step Guide:
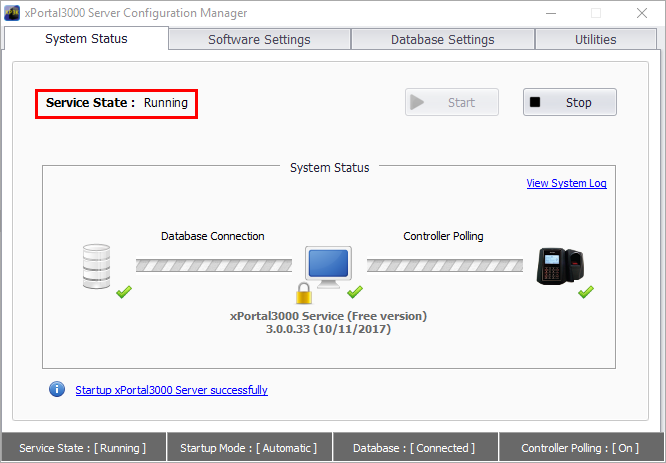
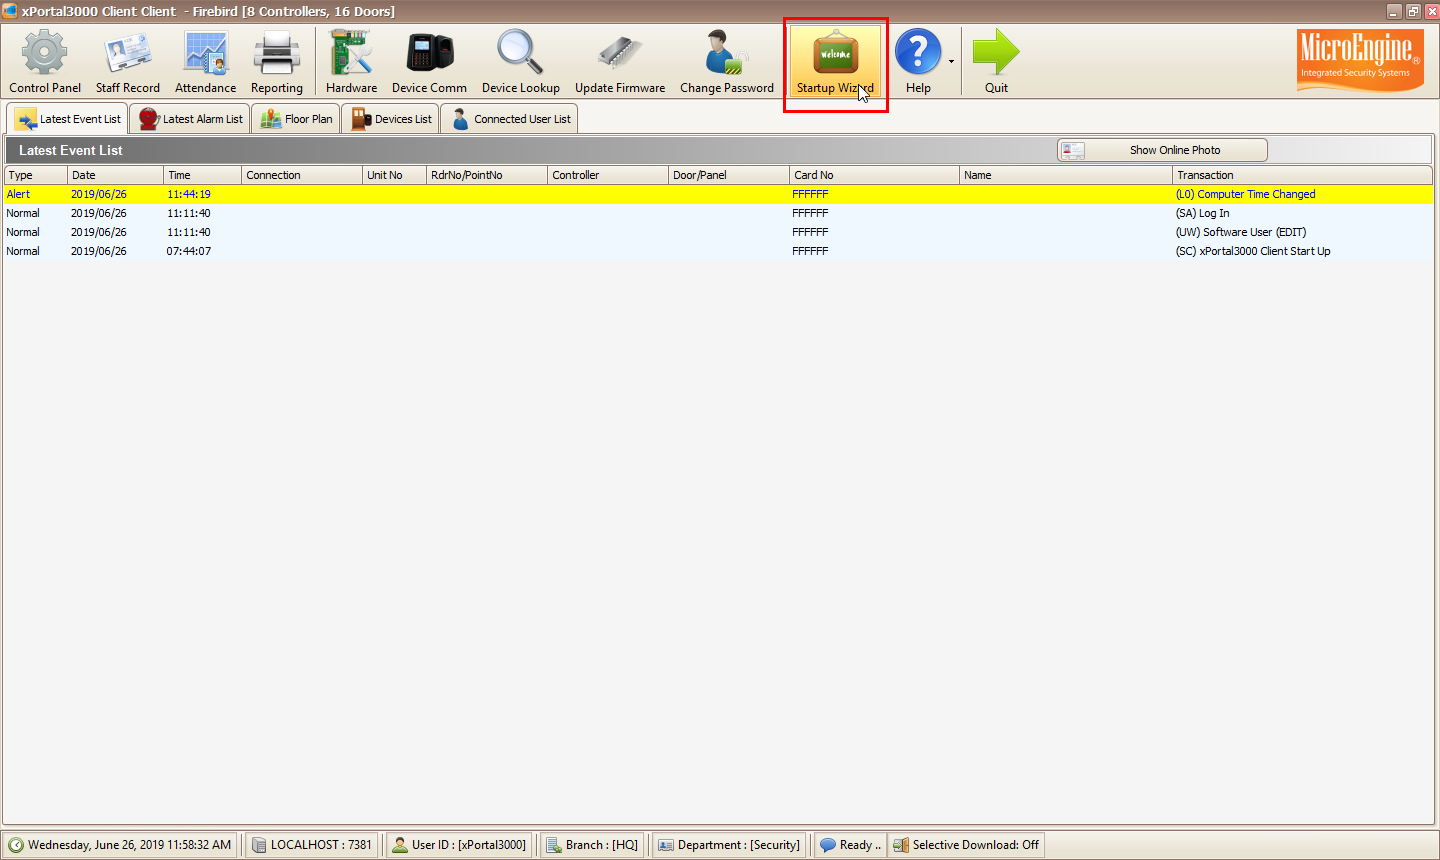
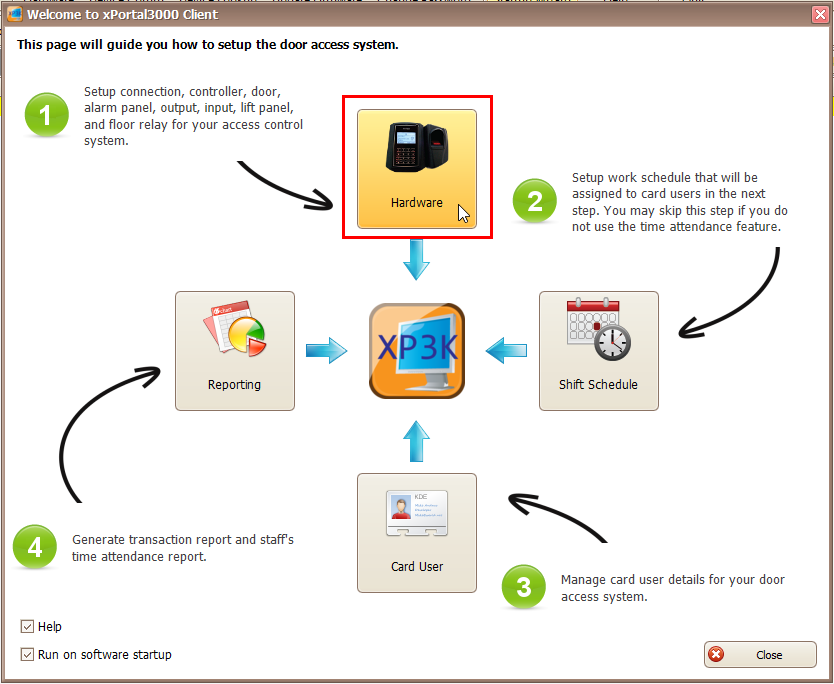
Step 1: Launch the xPortal3000 Server Configuration Manager. Ensure that the xPortal3000 Service State is indicated as "Running". Click Start if the Service State is "Stopped". . Step 2: Launch the xPortal3000 Client and login to the Client. The xPortal3000 Client home window will be shown. Click Startup Wizard. . Step 3: The xPortal3000 Startup Wizard will then be shown. Click Hardware to continue. . Step 4: At the following window, click New Controller Wizard icon to launch the New Controller Wizard. . .
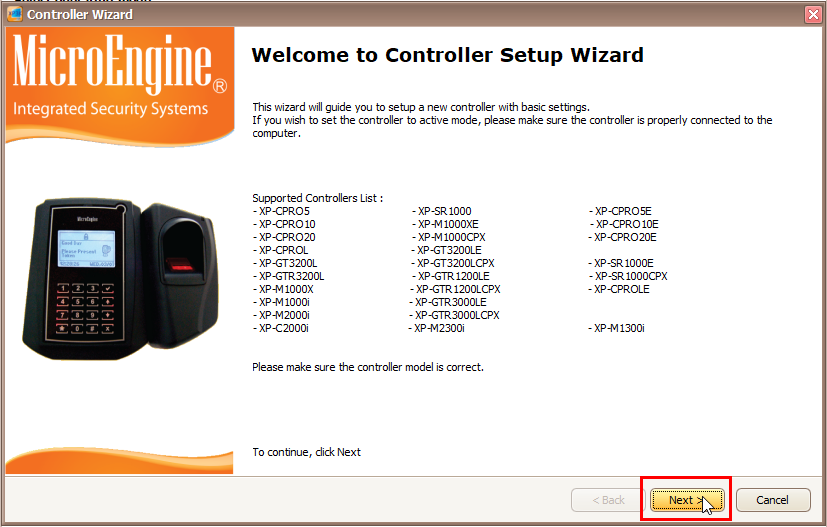
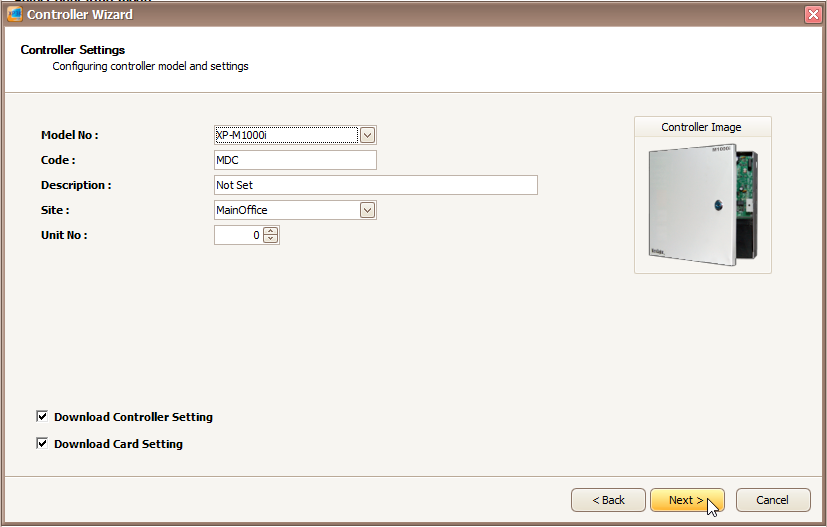
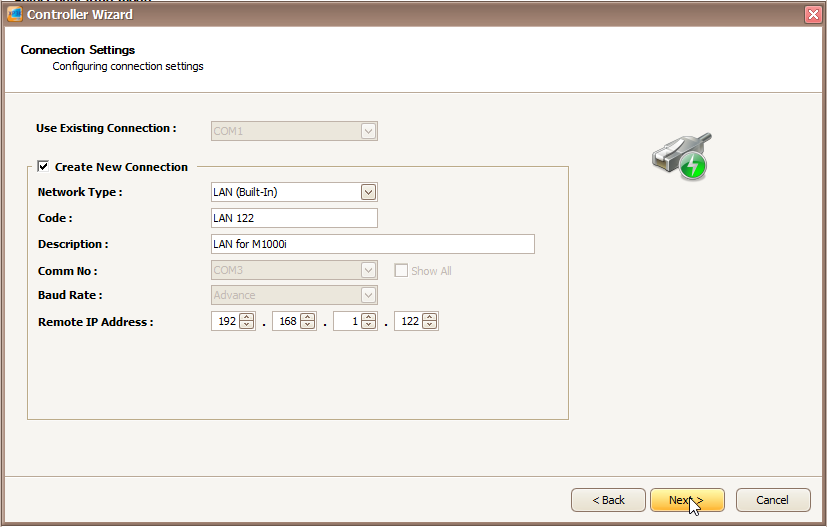
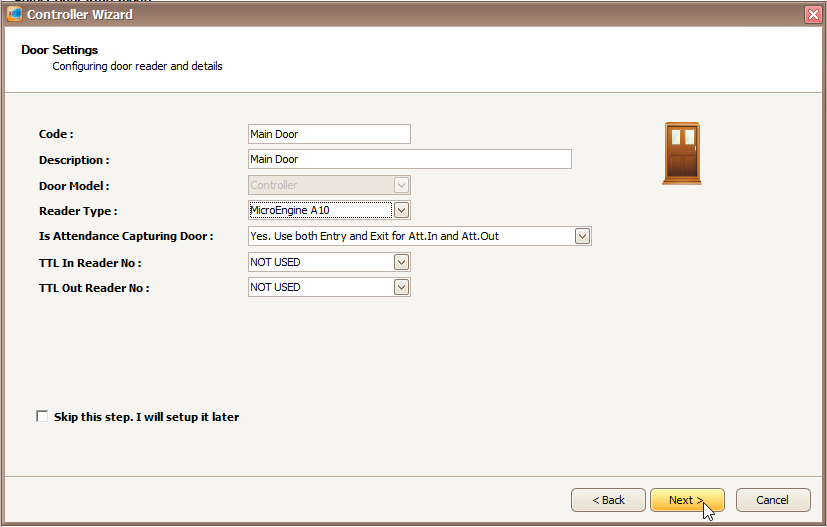
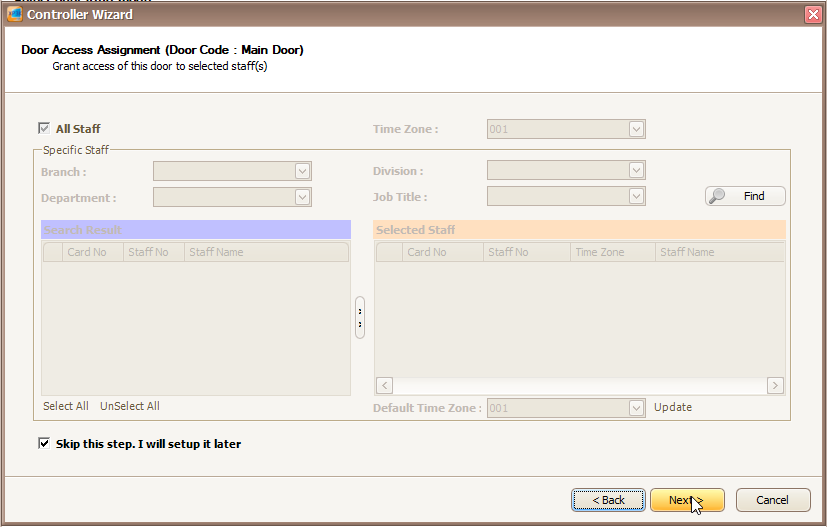
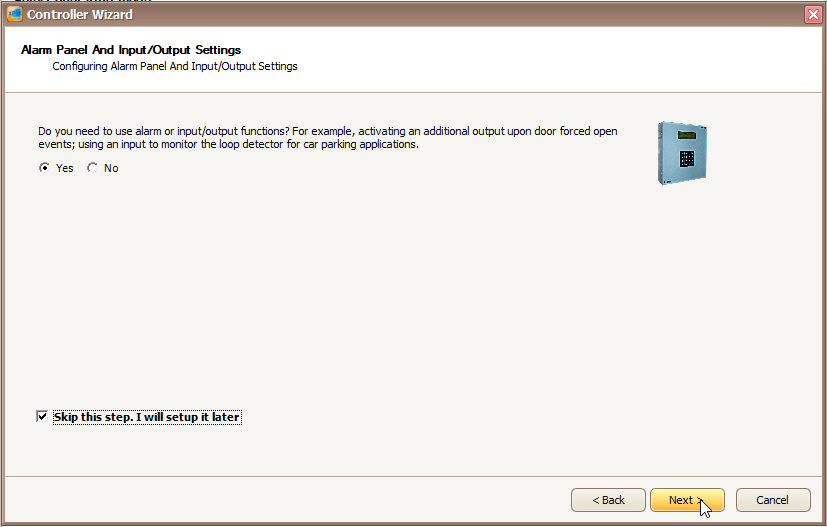
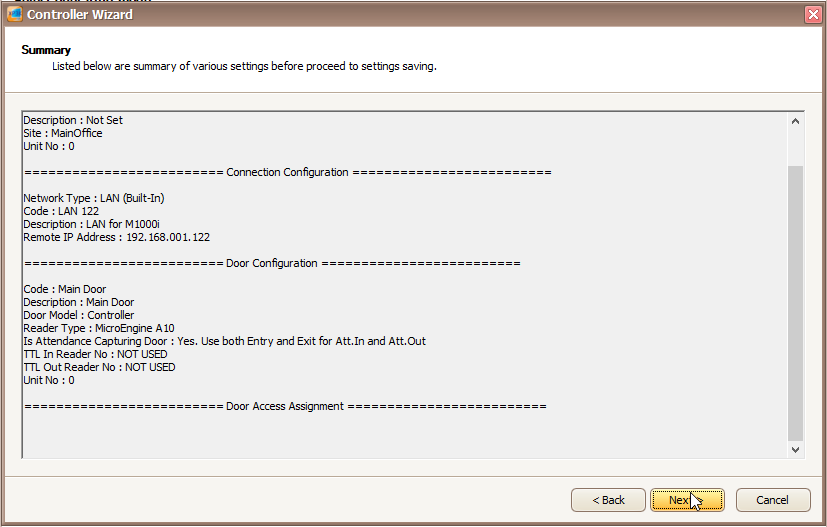
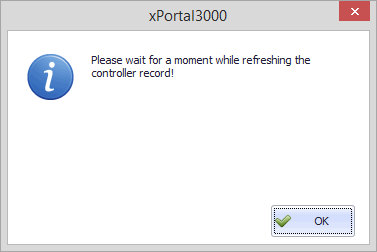
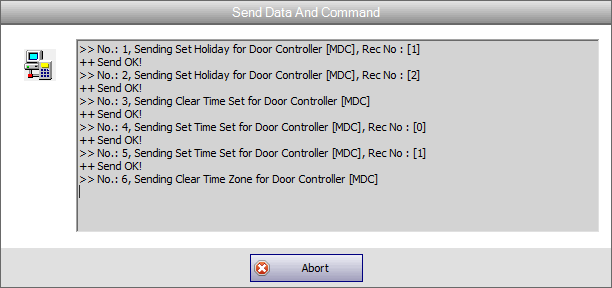
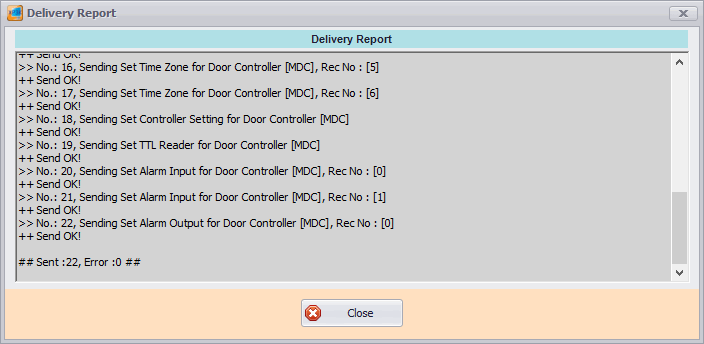
Step 1: Having successfully launched the New Controller Wizard, the Controller Wizard window will be shown. Click Next to continue with the configuration process. . Step 2: At the Controller Settings window, fill in the information accordingly. Click Next to continue. . Step 3: The Controller Wizard will then prompt the Connection Settings window. Users can either choose to use an existing connection pre-configured earlier, or configure a new connection for this particular controller. Click Next to continue after filling up the information accordingly. . Step 4: The Door Settings window will be shown. Fill up the information accordingly. Alternatively, users can choose to ignore this section and tick the Skip this step. I will setup it later checkbox to setup the door settings later. Click Next to continue. . Step 5: Next, at the Door Access Assignment window, users can assign the door accessibility for this door to be tied with the respective staff records. Alternatively, users can also choose to ignore this section and tick the Skip this step. I will setup it later checkbox to setup the Door Access Assignment later after users have added the staff records in the database. Click Next to continue. . Step 6: The Alarm Panel and Input/Output Settings window will then be shown. Users are advised to tick the Skip this step. I will setup it later checkbox and click Next to continue. . Step 7: The Summary window will be shown. Click Back if users wished to make any changes to the configuration settings, or click Next to continue. . Step 8: The software will then prompt the following message window to indicate that the software is refreshing the controller record. Click OK to continue. . Step 9: The software will then send the relevant data to the controller. Please wait for the sending process to complete before clicking OK. At the Delivery Report window, check and ensure that the sending of data is sent correctly and that no error was encountered by the software. Click Close. .
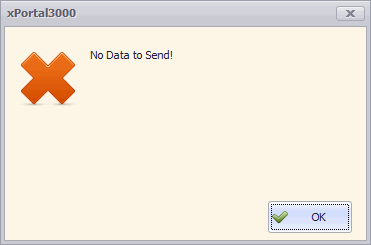
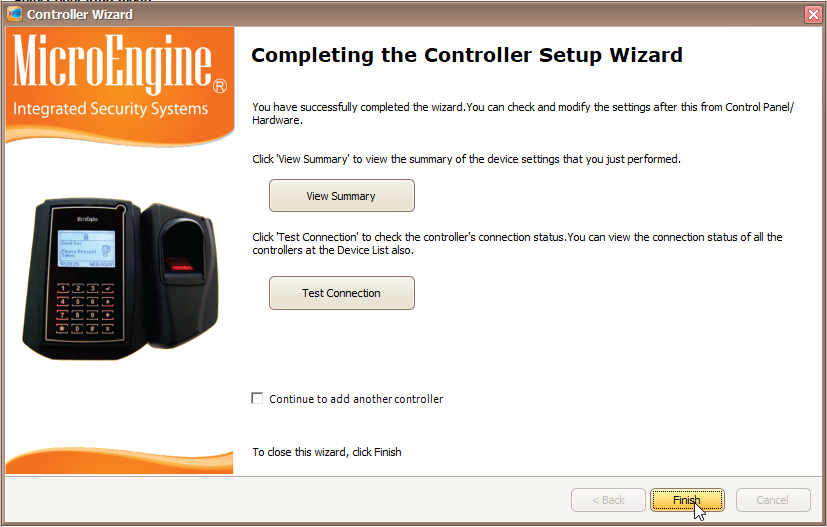
. Step 10: If the following message window is shown, ignore it and click OK to continue. The Controller Wizard window will show the Completing the Controller Setup Wizard window. Click Finish to close the wizard. .
| |
| Common Issues: | NIL |
| Porting Date: | 26/6/2019 |
PROOF-READ
.
.
.
© MicroEngine Technology Sdn Bhd (535550-U). All rights reserved.
