How to Add Staff Record using Startup Wizard in xPortal3000 Software
| Problem (Issue) Statement: | How to add Staff Record using Startup Wizard in xPortal3000 software |
| Description: | This article will guide users on how to add Staff Record using Startup Wizard in xPortal3000 software. |
| Related Software: |
|
| Related Hardware: | NIL |
| System Application: | NIL |
| Symptom and Finding: | NIL |
| Cause: | For first time guide on how to add Staff Records using Startup Wizard in xPortal3000 software. |
Warning!
. . Summary:
. . Step-by-step Guide:
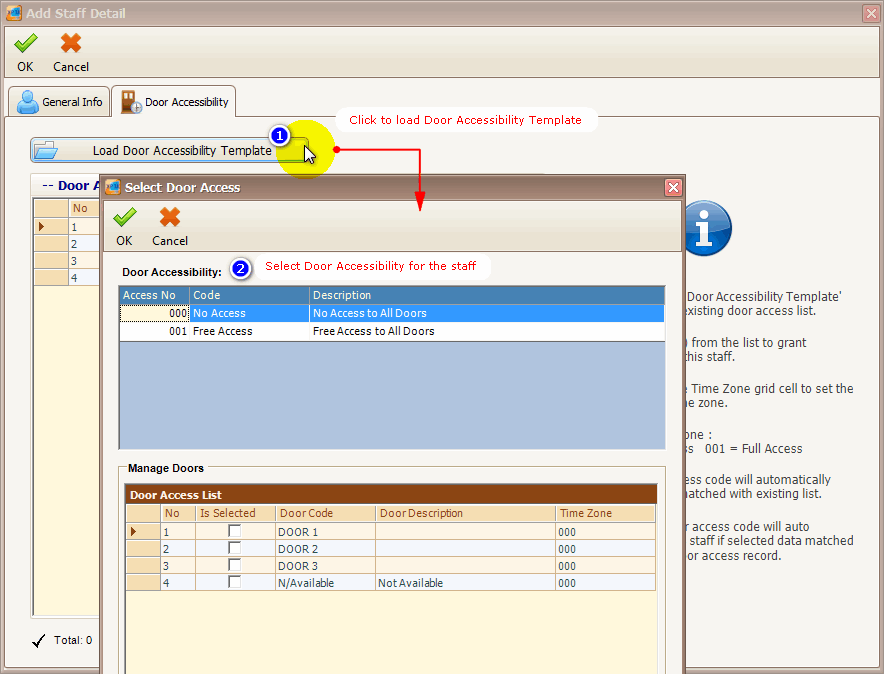
Step 1: Ensure that xPortal3000 Services is running. . Step 2: Go to xPortal3000 Client > Startup Wizard Icon. The Startup Wizard will be shown as below. Click on the Card User icon. . Step 3: The following window will then be shown. Click Method 1: Creating card user record by normal mode to import staff record via the Startup Wizard. . Knowledge Base Link Users may refer to How to Import Staff Record using Startup Wizard in xPortal3000 Software for the complete steps of selecting Method 2: Importing card user record from Excel or CSV file. . . Step 4: If the following message is shown by the software, click OK to continue. . Note This message is prompted by the software to indicate that there are no Staff Records found in the database. Users can safely ignore this error message. . . Step 5: The Staff Detail Setup window will then be shown. Click Add to add the new staff records. . Step 6: The Add Staff Detail window will be shown. Enter the information of the staff accordingly. . Step 7: Click on the Door Accessibility tab > Load Door Accessibility Template to configure the Door Access Level to be assigned for this particular staff. Click OK to save the changes. . Step 8: The software will then prompt the following message windows indicating the progress of the changes. Click Yes and OK to continue at the respective message windows. .
. Step 9: The software will then prompt the Preparing Card Data window. Wait for the process to complete . Step 10: The Delivery Report window will then be shown. Ensure that all the data sending process returned the status of OK! and click Close to return to Staff Detail Setup window. . Step 11: The newly added staff record will be listed in the Staff Detail Setup window. Click Close to exit from the window. Step 12: The newly added staff can now flash the valid access card to the respective controller to gain access. The software will record the "Valid Entry Access" transaction. | |
| Common Issues: | NIL |
| Porting Date: | 25/10/2019 |


PROOF-READ
.
.
.
© MicroEngine Technology Sdn Bhd (535550-U). All rights reserved.