How to Install LID Manager Web API on xPortalNet Computer
Problem (Issue) Statement: | How to install LID Manager Web API on xPortalNet PC? |
Description: | A guide to install LID Manager Web API on xPortalNet PC. |
Related Software: |
|
Related Hardware: |
|
System Application: |
|
Symptom and Finding: | NIL |
Cause: | For first time guide to install the LID Manager Web API on xPortalNet PC. |
Solution: | Summary:
. Step-by-step Guide:
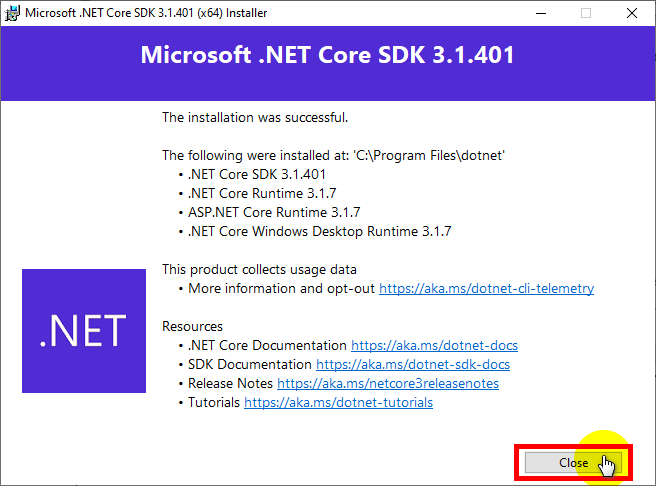
Step 1: Click here to download .NET Core 3.1 SDK (v3.1.401). . Step 2: After finishing the download, open the application to continue. . Step 3: The following window will be shown, click Run to continue. . Step 4: The following installer window will be shown, click Install to continue. Wait for the installation progress to complete. . Step 5: Once the installation process is completed, the following window will then be shown. Click Close to exit. . .
Step 1: Double-click on the LIDManagerAPISetup v1.0.0.1 installer file. . Step 2: The LID Manager Web API window will be shown. Click Next to continue. . Step 3: The Select Installation Folder window will then be shown. Click Browse to select the installation folder location (users can keep the default folder location) and click Next to continue. . Step 4: The Confirm Installation window will be shown. Click Next to continue. Wait for the installation process to be completed. . Step 5: Once the installation process is completed, the Installation Complete window will be shown. Click Close to exit. . Step 6: Next, go to the Installation Folder. Installation folder: C:\Program Files (x86)\MICROENGINE\LIDManagerSGateWebAPI (by default). . Step 7: Right click and run the SGateLIDAPI.bat as administrator. . Step 8: The Command Prompt window will be shown and will automatically be closed after the installation finishes. . Step 9: Go to Task Manager > Services. Ensure that LIDManagerAPI, LIDManagerDocAPI and LIDManagerSGateAPI services are running. |
Common Issue: | NIL |
Date Documentation: | 22/12/2020 (Rev 0.0) |


PROOF-READ
.
.
.
© MicroEngine Technology Sdn Bhd (535550-U). All rights reserved.