Summary
To restore xPortal3000 database.
Step-by-step Guide:
To restore xPortal3000 database:
Step 1: Open xPortal3000 Server Configuration Manager and click Stop to stop the xPortal3000 Services in the System Status tab.
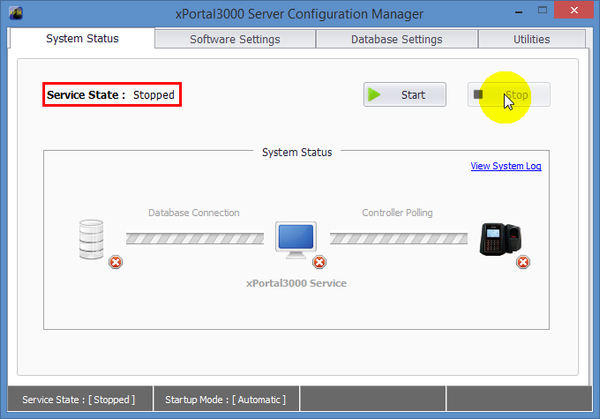
Figure 1: Ensuring that xPortal3000 Service State is Stopped
Step 2: Go to Database Setting tab and click Restore.
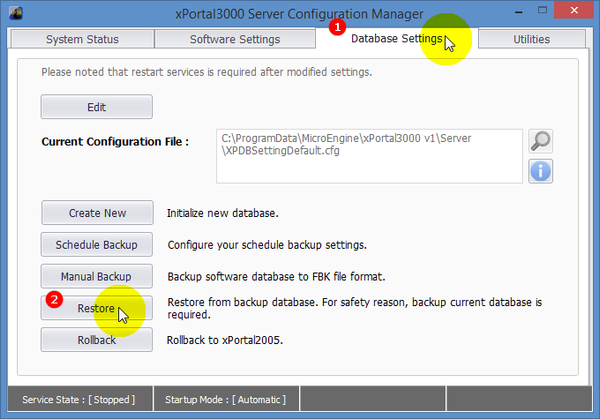
Figure 2: Restore Button in Database Settings Tab
Step 3: The Restore Database Wizard (Firebird) window will be shown as below. Click Next to continue.
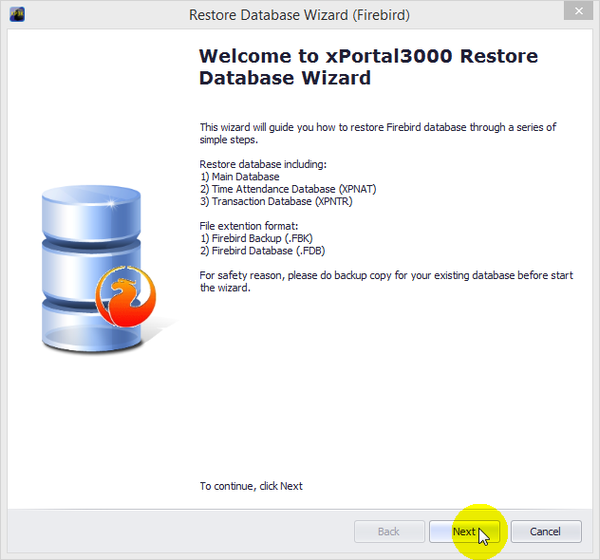
Figure 3: Restore Database Wizard Window
Step 4: The Backup File window will be shown as below. Go to Browse to select the folder location of the backup file to be restored and click Next to continue.
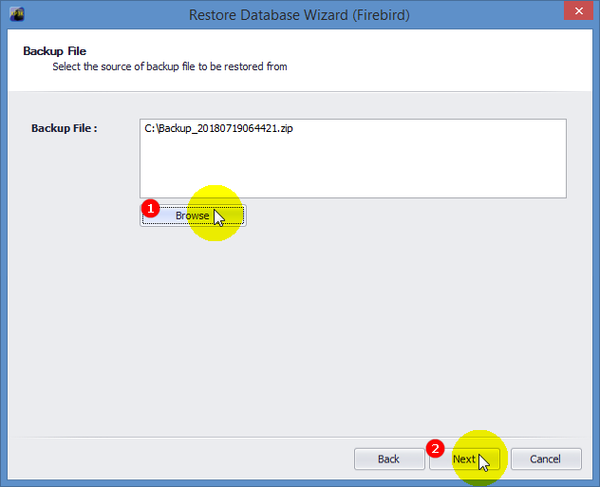
Figure 4: Backup File Window
Step 5: The Source window will be shown as below. Select the items to be restored from the backup file and click Next to continue.
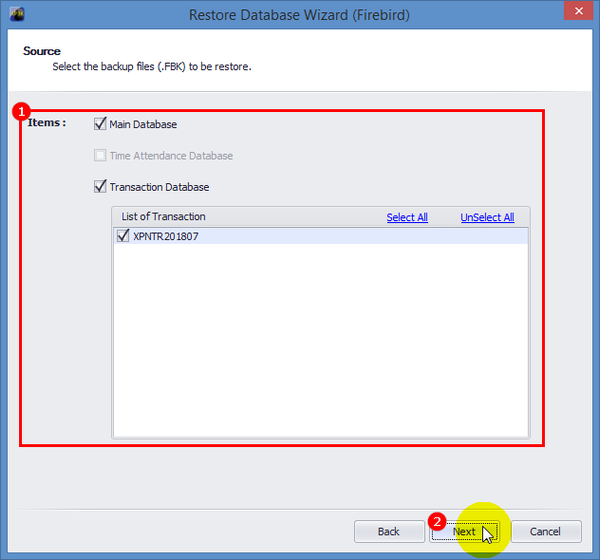
Figure 5: Source Window
Step 6: The Destination window will be shown as below. Check the Restore and replace existing database checkbox. For a fresh installation, check Restore as new database. Click Next to continue.
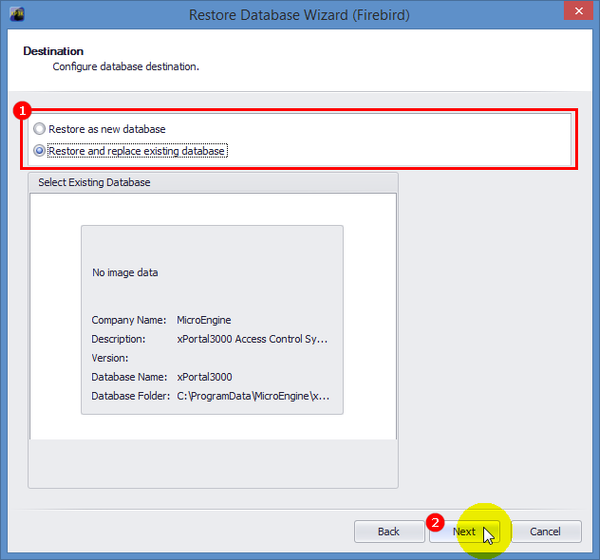
Figure 6: Destination Window
Step 7: The following message window will be shown to confirm the database restoration process. Click Yes to start restoring database.
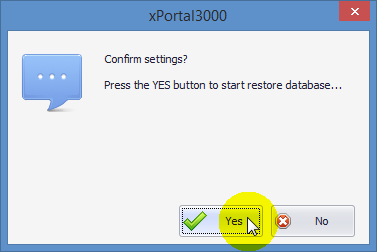
Figure 7: Database Restoration Confirmation
Step 8: The Restore Database Wizard window will be shown once the database restoration process is started. Upon completing the restoration process, the following message window will be shown indicating that the database restoration process is completed. Click Ok and then click Next on Restore Database Wizard window.
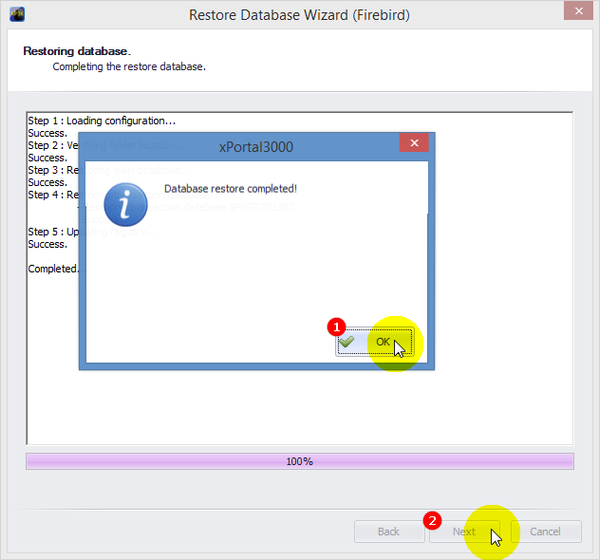
Figure 8: Restore Database Wizard Window
Step 9: The Restore Database Completed window will be shown to indicate that database restoration is completed. Click Finish.
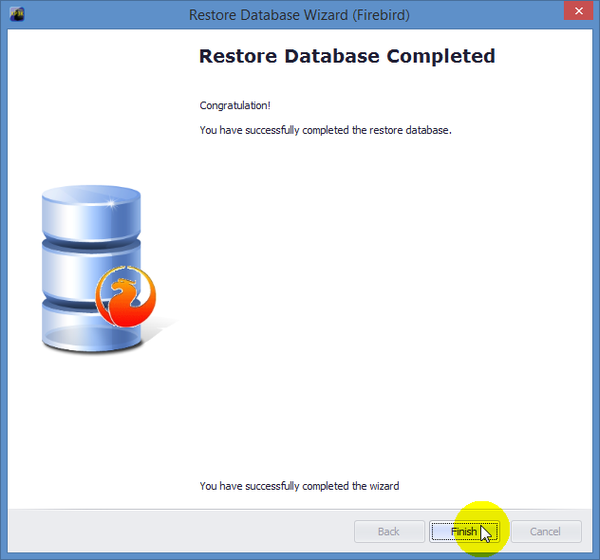
Figure 9: Restore Database Completed Window


