How to Import and Configure CAD File as Floor Plan Image
Problem (Issue) Statement: | How to Import and Configure CAD File as Floor Plan Image |
Description: | xPortalNet software allows users to use AutoCAD files as Floor Plan image. The .CAD File can be used in the software by running the CAD Converter. This is an optional feature and it requires a license to activate it. The feature can be found from the Floor Plan Setup once it is activated. |
Related Software: | xPortalNet v1.5.0.138 or higher |
Related Hardware: | CAD USB License Dongle |
System Application: | Door Access System |
Symptom and Finding: | NIL |
Cause: | NIL |
Solution: | Warning!
. . Summary. Step-by-step Guide:
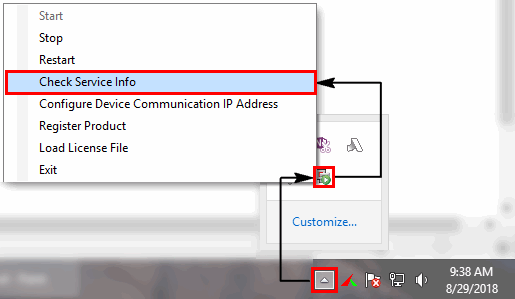
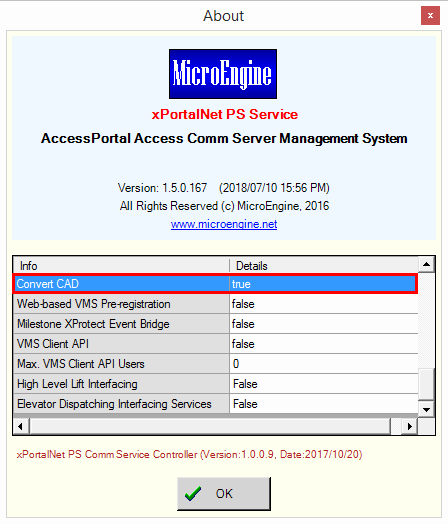
In these steps, user will be guided to activate the Convert CAD feature. Info The license to activate the CAD Converter has to be purchased separately as it is an optional feature. It is not bind together with the software license. Please make sure the CAD Converter license has been purchased before proceeding with this article. Step 1: Plug in the USB Dongle which contains the module license to activate the Convert CAD feature. Step 2: Run xPortalNet Service. When the service is successfully running, please verify that the Convert CAD feature is enabled. Step 3: Right click on the xPortalNet Service icon from the windows taskbar and select Check Service Info. Step 4: The Convert CAD status must be true once software detected the license dongle. . .
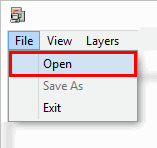
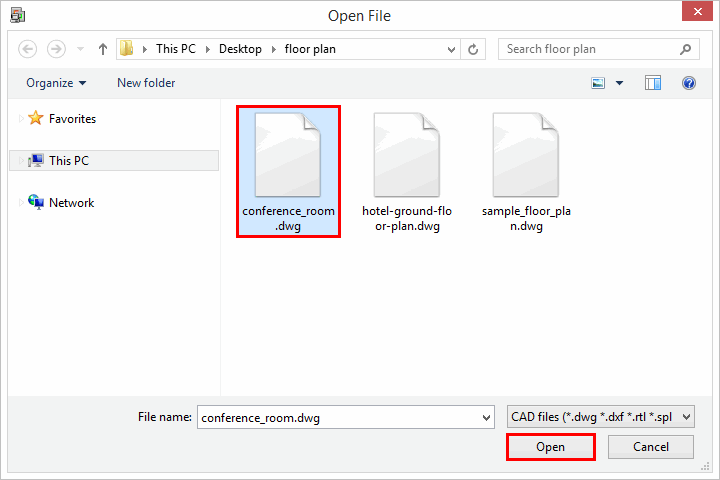
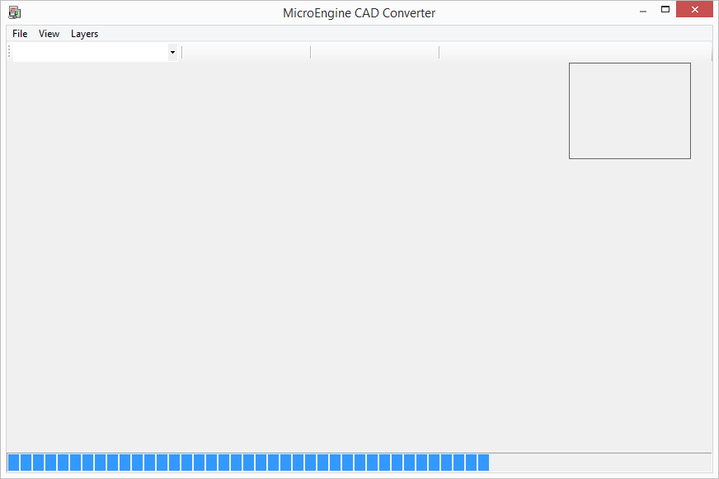
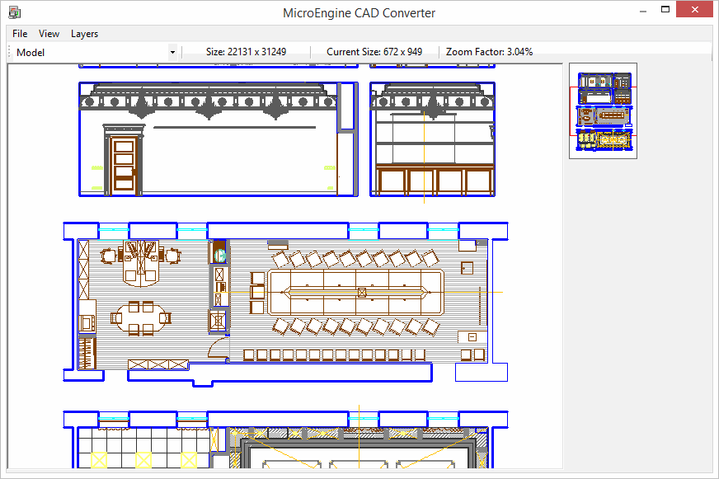
In these steps, user will be guided to convert the CAD file to be used as the image of the floor plan. Step 1: Run xPortalNet Client. Step 2: Go to Data Setup > System Setting > Floor Plan Configuration > Floor Plan. Step 3: Click on CAD Converter. Step 4: At CAD Converter window, go to File > Open. Step 5: Please select the CAD file that you want to convert into image. Then click Open. Step 6: Please wait until the file is completely converted. Step 7: The image will be shown when it is successfully converted. Tips
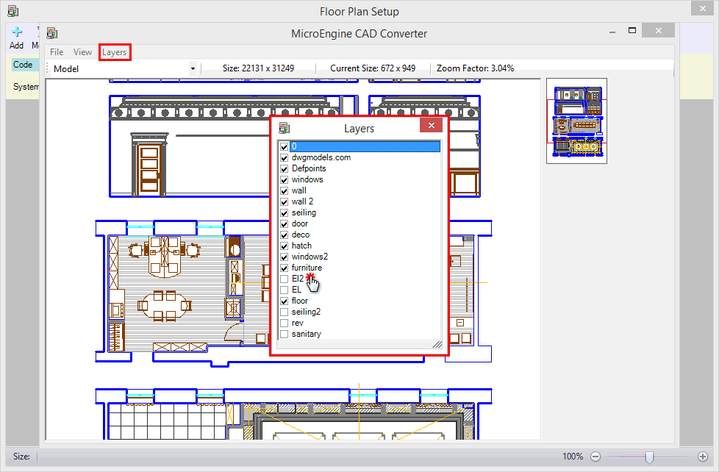
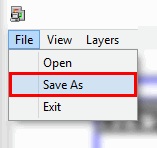
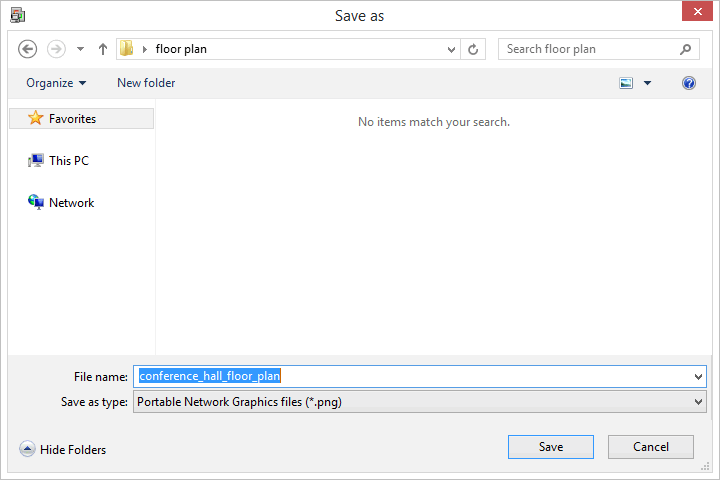
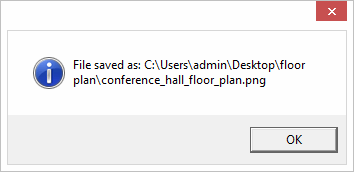
. Step 8: You can remove some layers from the converted image. Click on the Layers menu. Then unchecked the unwanted layers. Step 9: Close the Layers window after you done. Then, go to File > Save As to save the newly converted image. Step 10: Specify the location to save the image. Give a new name to the file accordingly. Step 11: You will be prompted with a message containing the location of the saved image as shown below. Step 12: Once you click OK, the location folder will be automatically opened. Step 13: Finished. |
Document Date | 28/08/2018 (Rev 1.0) |
PROOF-READ
.
.
.
© MicroEngine Technology Sdn Bhd (535550-U). All rights reserved.
