How to Set the Card No Length and Card No Start Position Correctly
Problem (Issue) Statement: | How to Set the Card No Length and Card No Start Position Correctly |
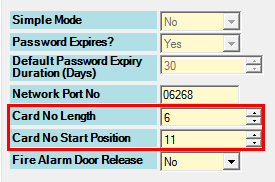
Description: | The Card No Length is to determine the length of the staff's card number that will be displayed in the xPortalNet software. The maximum length is 16, while the minimum length is 6. The Card No Start Position is to determine the position from which the card number will be retrieved, it can be from position 1 until position 11. |
Related Software: | xPortalNet v1.5.0.116 or higher |
Related Hardware: | NIL |
System Application: | Door Access System |
Symptom and Finding: | NIL |
Cause: | NIL |
Solution: | Warning!
. . Summary
Step-by-step Guide:
In these steps, user will be guided to set the Card No Length and Card No Start Position. Step 1: Run xPortalNet Server. Step 2: Go to Server Admin > System Properties. Step 3: At General Tab, find the Card No Length and Card No Start Position field.
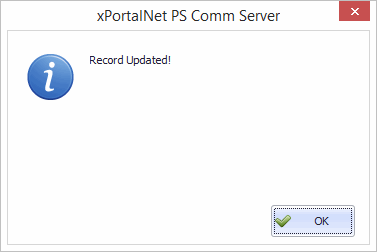
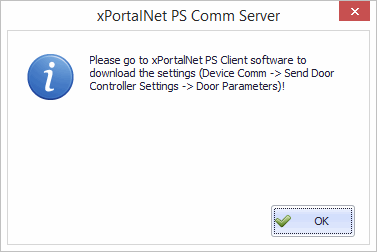
Step 4: Update the field according to your preferences. It is recommended to use the following example. Information By default the Card No Length is 6 and Card No Start Position is 11. Card No Length: 6 Card No Start Position: 1 Card No Length: 6 Card No Start Position: 11 Step 5: Specify the value for the Card No Length and Card No Start Position fields by clicking the up and down button. . Step 6: Click OK to confirm and save the changes. . Step 7: "Record Updated!" message will be shown. . Step 8: Login to xPortalNet Client software and download the settings. . Step 9: Flash card to reader to verify the settings is correct. |
Document Date | 23/08/2018 (Rev 1.0) |
PROOF-READ
.
.
.
© MicroEngine Technology Sdn Bhd (535550-U). All rights reserved.


