How to Configure Door Access Level at xPortal3000 software

Problem (Issue) Statement:

How to configure Door Access Level at xPortal3000 software

Description:

A guide to configure Door Access Level at xPortal3000 software. This article will guide users to setup Door Accessibility Level (Door Access Level) by setting the accessible Time Zone for each door. The Door Accessibility Level will then be assigned to individual card users to allow the system to determine the day and time the card user can gain access to the door.

Related Software:

  • xPortal3000

Related Hardware:

  • All controller model

System Application:

  • Software configuration for assign door accessibility level

Symptom and Finding:

NA

Cause:

For first time configuration on Door Access Level at xPortal3000 software.

Solution:

Warning!

  • Users are not recommended to run any xPortal software in Windows XP operating system as the system is unstable

  • Users are also advised to stop the xPortal Services before shutting down the Server PC to prevent any missing transaction issues.

.

.

Summary

  • To setup Door Accessibility Schedule in xPortal3000.

Step-by-step Guide:

  • To setup Door Accessibility Schedule in xPortal3000:

Step 1: Ensure that xPortal3000 Service is running.


Step 2: Go to xPortal3000 Client > Control Panel > Accessibility Settings > Door Accessibility.
Door Accessibility Icon in Accessibility Menu
Figure 1: Door Accessibility Icon in Accessibility Menu


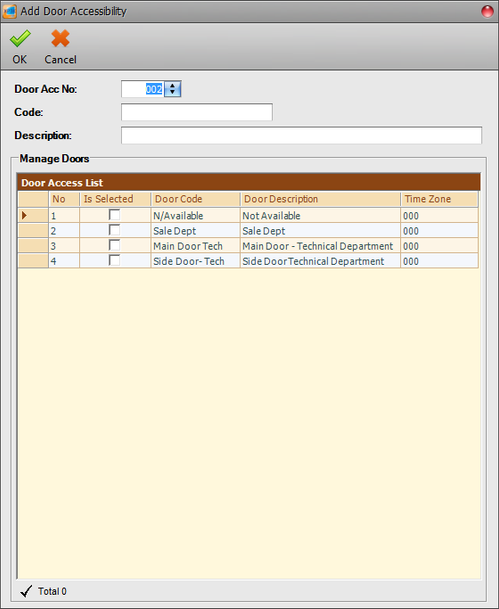
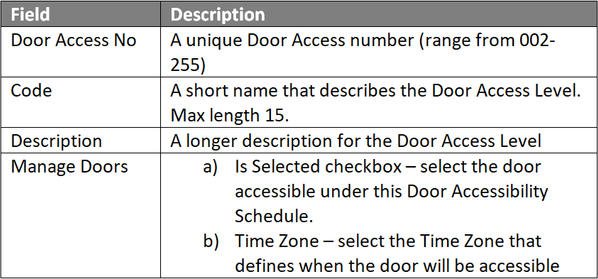
Step 3: Click Add to add a new door accessibility schedule. The Add Door Accessibility window will be shown as below. Fill in all the necessary fields. Click OK to save the changes.
Add Door Accessibility Window
Figure 2: Add Door Accessibility Window


Note

  • xPortal3000 software is able to support up to a maximum of 255 sets of Door Accessibility Schedule.
  • The software has 2 default Door Access Levels, which is access code "000" for "No Access" and "001" for "Free Access".


Knowledge Base Link

Users can refer to How to Configure Time Zone Settings in xPortal3000 Software to configure the Time Zone settings.


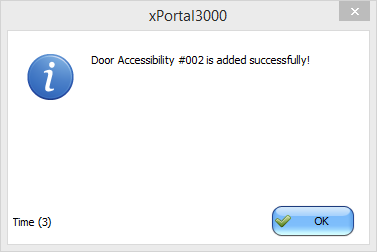
Step 4: The following message window will be shown to indicate that the Door Accessibility Schedule has been added successfully. Click OK to continue.
Door Accessibility is Added Successfully Window
Figure 3: Door Accessibility is Added Successfully Window


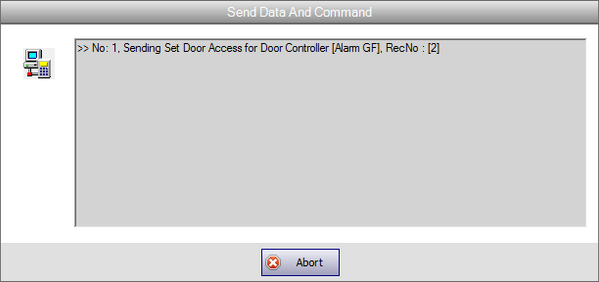
Step 5: The Send Data and Command window will be shown. Please wait for the Send Data and Command process to complete before clicking Close.
Send Data and Command Window
Figure 4: Send Data and Command Window

Date Documentation:

4/6/2018 (Rev 1.0)

PROOF-READ

.

.


.

© MicroEngine Technology Sdn Bhd (535550-U). All rights reserved.