How to Export Staff Record in PDF Format by Using xPortal3000 Software
Problem (Issue) Statement: | How to Export Staff Record in PDF Format by Using xPortal3000 Software |
Description: | This software provides a way for user to export the staff records list into several document types such as PDF, HTML, MHT, RTF, XLS, XLSX, CSV, TXT and Image file. |
Related Software: | xPortal3000 3.0.0.5 or higher |
Related Hardware: | NIL |
System Application: | Door Access System |
Symptom and Finding: | NIL |
Cause: | NIL |
Solution: | Warning!
. . Summary
Step-by-step Guide:
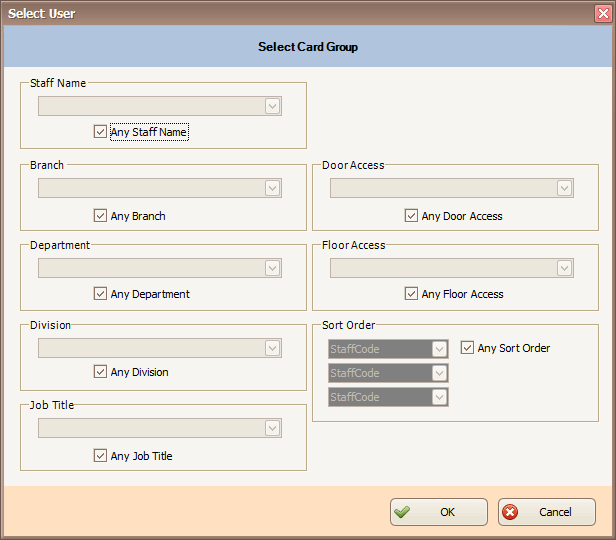
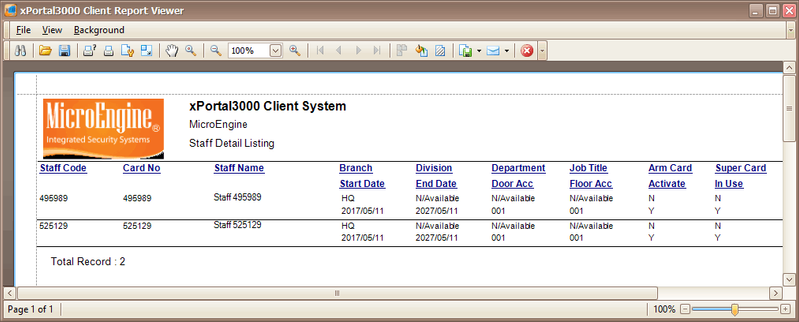
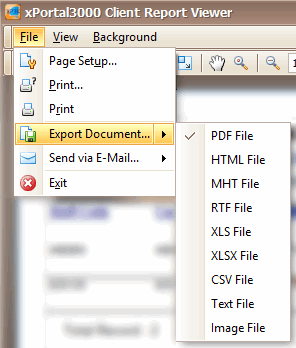
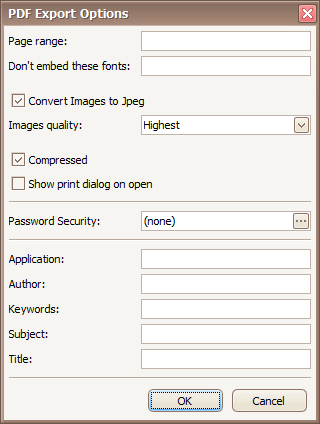
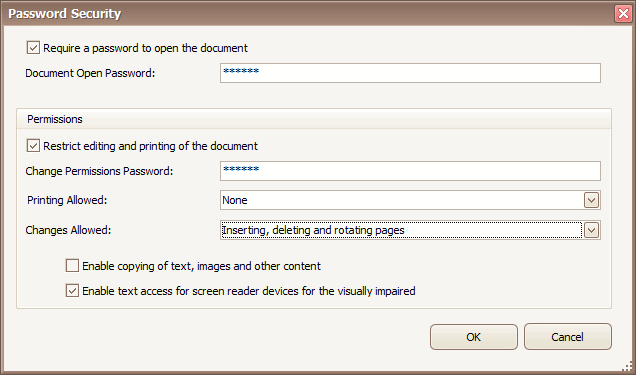
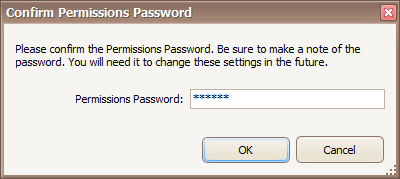
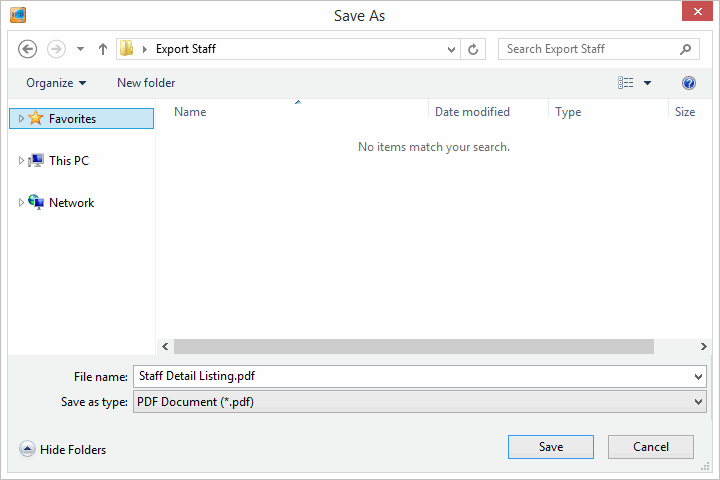
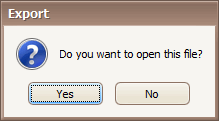
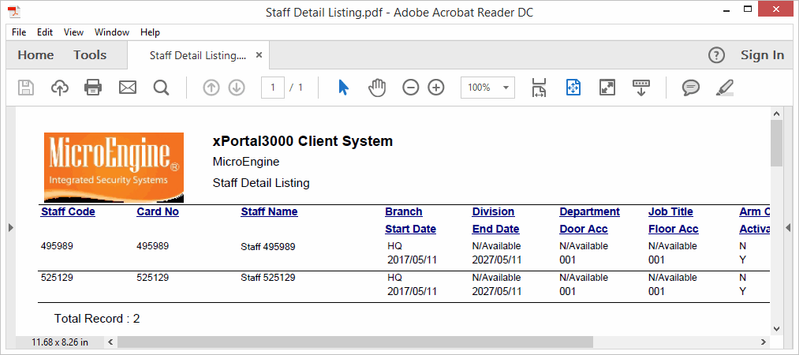
In these steps, user will be guided to export the staff records. Step 1: Run xPortal3000 Client. Step 2: Go to Staff Record. Step 3: From the Staff Detail Setup window, click Print. Step 4: Select User window will be shown. Filter out which card group to be excluded during export file. Step 5: Click OK. The report viewer will be shown. Step 6: Click File > Export Document. You can select which export format that you prefer. Step 7: In this step, we will export to PDF File. Configure the Export Options according to your preferences. Then, click OK. . Tips To tighten the security of the exported files since it contains confidential information of the staff, you need to configure the Password Security. Eg: You can specify the Password to open the document or Permissions Password for editing. You will be prompted to confirm the Permissions Password if you configure this password. When you want to open the exported file, you will be prompted to enter the open document password. . . Step 8: Specify the location to save the exported file. You may also rename the File Name. Then, click Save. Step 9: You will be prompted to open the exported file. Click Yes to open the file or No to exit. Step 10: The exported file will be open if you select Yes as shown below. Step 11: Finished. |
Document Date | 21/08/2018 (Rev 1.0) |
PROOF-READ
.
Related Articles.
Containing the label "xportal3000" AND "setup-guide" containing the phrase "staff records"
.
.
© MicroEngine Technology Sdn Bhd (535550-U). All rights reserved.


