How to Configure Alarm Configuration in xPortalNet Software
Problem (Issue) Statement: | How to Configure Alarm Configuration in xPortalNet Software |
Description: | The Alarm Handling Configuration consists of several configurations such as Alarm Guidance Text, Alarm Acknowledge Comment, Alarm Priority and Alarm Audio. These configurations can be used when configuring the Alarm Definition. Once the Alarm Definition has been configured, user can be notified when the alarm is triggered and the list will be displayed from the Latest Alarm Event List. |
Related Software: | xPortalNet PS v1.5.0.147 or higher |
Related Hardware: | NIL |
System Application: | Door Access System |
Symptom and Finding: | NIL |
Cause: | For first time guide to configure the Alarm Handling Configuration |
Solution: | Warning!
. . Summary
. Step-by-step Guide:
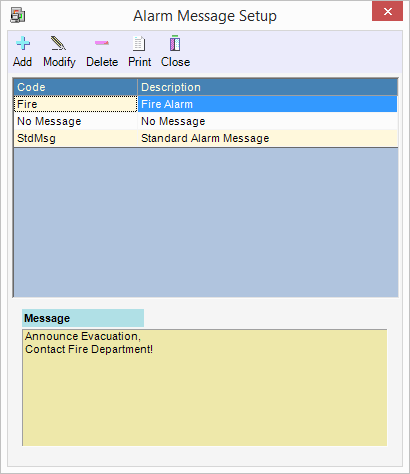
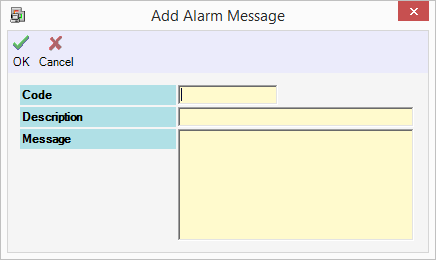
In these steps, user will be guided to configure the alarm message. User can can configure this to assign message to a particular alarm. The descriptive description can guide user to understand what alarm is currently triggering. Step 1: Login to xPortalNet Client. Step 2: Open Alarm Guidance Text. Go to Data Setup > System Setting > Alarm Configuration > Alarm Guidance Text. Step 3: The Alarm Message Setup window will be shown. Step 4: Click Add to add new Alarm Message. Step 5: Fill up the fields according to the description below.
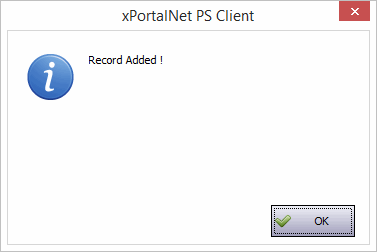
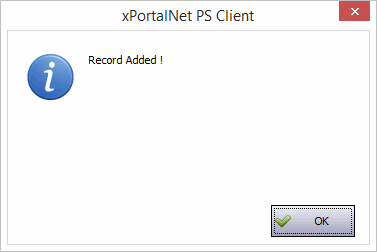
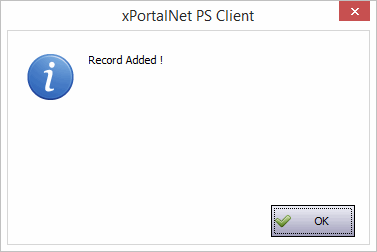
Step 6: Click OK to confirm and save the changes. "Record Added !" message will be shown.
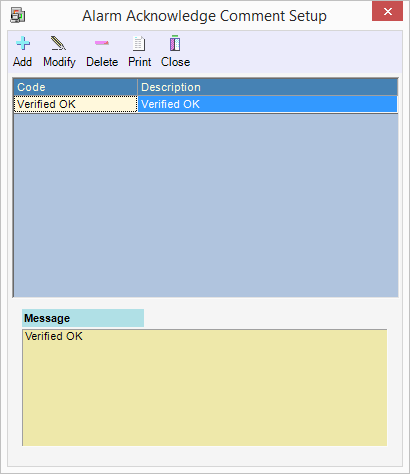
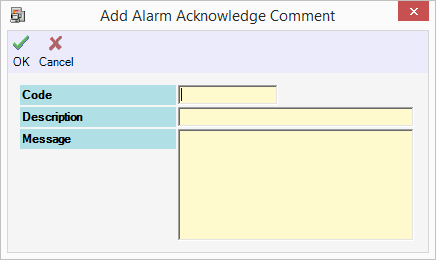
In these steps, user will be guided to configure the alarm acknowledge comment. User can configure this to show a message when acknowledging the triggered alarm. Step 1: Login to xPortalNet Client. Step 2: Open Alarm Acknowledge Comment. Go to Data Setup > System Setting > Alarm Configuration > Alarm Acknowledge Comment. Step 3: The Alarm Acknowledge Comment Setup window will be shown. Step 4: Click Add to add new Alarm Acknowledge Comment. Step 5: Fill up the fields according to the description below.
Step 6: Click OK to confirm and save the changes. "Record Added !" message will be shown.
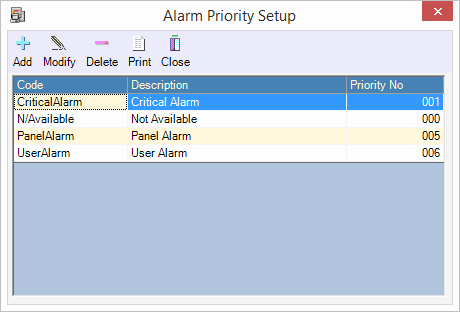
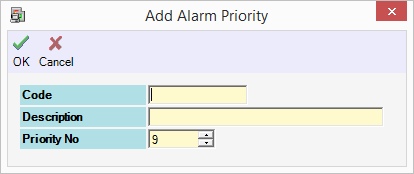
In these steps, user will be guided to configure the alarm priority. User can configure this to determine the priority of a particular alarm. Step 1: Login to xPortalNet Client. Step 2: Open Alarm Priority. Go to Data Setup > System Setting > Alarm Configuration > Alarm Priority. Step 3: The Alarm Priority Setup window will be shown. Step 4: Click Add to add new Alarm Priority. Step 5: Fill up the fields according to the description below.
Step 6: Click OK to confirm and save the changes. "Record Added !" message will be shown.
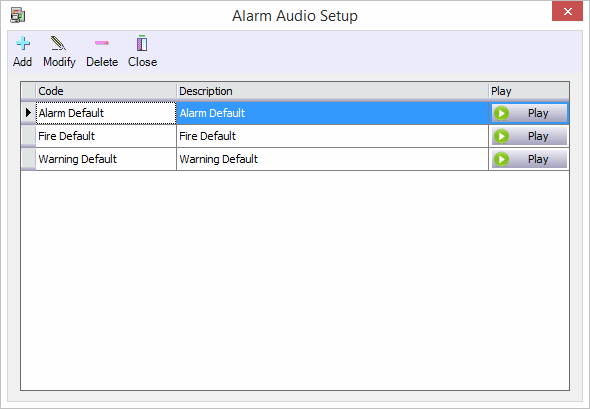
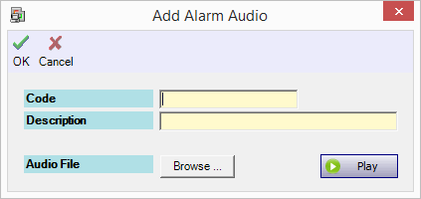
In these steps, user will be guided to configure the alarm audio. User can configure this to assign an audio to a particular alarm. When alarm is triggered, this sound will be produced. Step 1: Login to xPortalNet Client. Step 2: Open Alarm Audio. Go to Data Setup > System Setting > Alarm Configuration > Alarm Audio. Step 3: The Alarm Audio Setup window will be shown. Step 4: Click Add to add new Alarm Audio. Step 5: Fill up the fields according to the description below. User can browse for .wav audio file only.
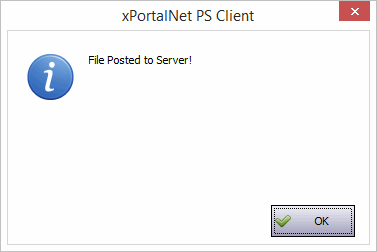
Step 6: Click OK to confirm and save the changes. "File Posted to Server!" message will be shown, followed by "Record Added !" message will be shown.
|
Document Date | 31/07/2018 (Rev 1.0) |
PROOF-READ
.
.
.
Related content
© MicroEngine Technology Sdn Bhd (535550-U). All rights reserved.
