Summary:
Step-by-step Guide:
Open Command Prompt and Run as Administrator:
Step 1: Click the Start button on computer.
Step 2: Type "cmd" command in Search box.
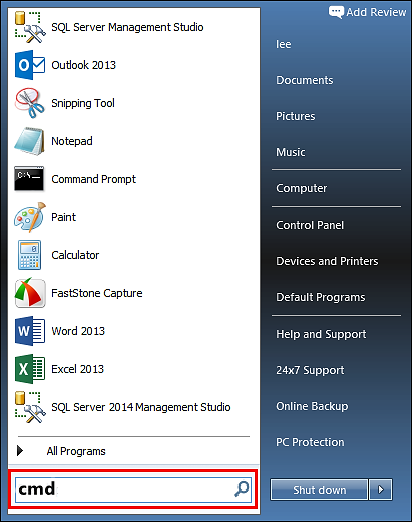
Figure 1: Typing "cmd" in the Search Box
Step 3: Select Command Prompt and right-click to select Run as Administrator.
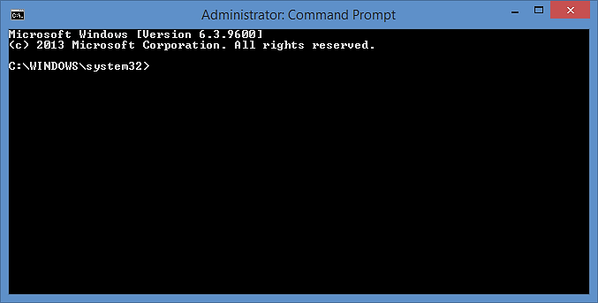
Figure 2: Command Prompt Run as Administrator
Unregistering MSWINSCK.OCX file in Command Prompt:
Step 1: Click the Start button.
Step 2: Type "command" in the search box... DO NOT hit ENTER yet! While holding CTRL-Shift on your keyboard, hit ENTER. You will be prompted with a permission dialog box. Click Yes.
Step 3: Type the following command: regsvr32 /u MSWINSCK.OCX. Hit ENTER. This will UN-REGISTER your file.
Step 4: Type the following command: regsvr32 /i MSWINSCK.OCX. Hit ENTER. This will RE-REGISTER your file.
Step 5: Close the command prompt window.
Manually registering the xxxx.ocx file:
Step 1: Type REGSVR32 C:\Windows\System32\mswinsck.ocx (for Windows 64-bit OS, type REGSVR32 C:\Windows\SysWOW64\mswinsck.ocx) and press Enter to run this command to manually register the file.
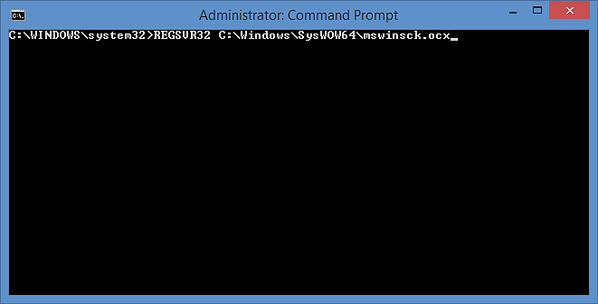
Figure 3: Manually Registering the mswinsck.ocx File
Step 2: The following message will be shown to indicate that the DllRegisterServer in C:\Windows\SysWOW64\mswinsck.ocx succeeded. Click OK to exit.
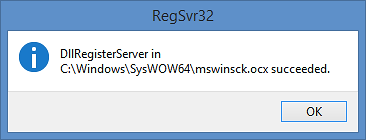
Figure 4: The DllRegisterServer in C:\Windows\SysWOW64\mswinsck.ocx succeeded Message
Step 3: Type REGSVR32 C:\Windows\System32\comdlg32.ocx (for Windows 64-bit OS, type REGSVR32 C:\Windows\SysWOW64\comdlg.ocx) and press Enter to run this command to manually register the file.
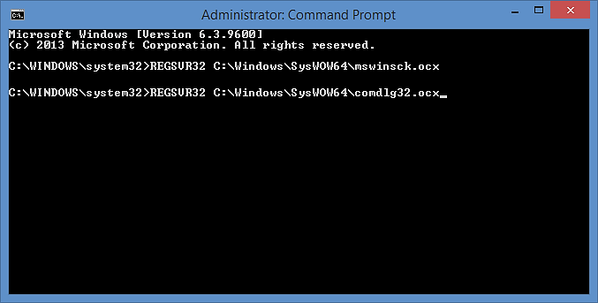
Figure 5: Manually Registering the comdlg32.ocx File
Step 4: The following message will be shown to indicate that the DllRegisterServer in C:\Windows\SysWOW64\comdlg32.ocx succeeded. Click OK to exit.
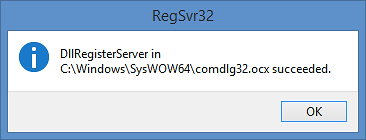
Figure 6: The DllRegisterServer in C:\Windows\SysWOW64\comdlg32.ocx succeeded Message
Step 5:Type REGSVR32 C:\Windows\System32\msflxgrd.ocx (for Windows 64-bit OS, type REGSVR32 C:\Windows\SysWOW64\msflxgrd.ocx) and press Enter to run this command to manually register the file.
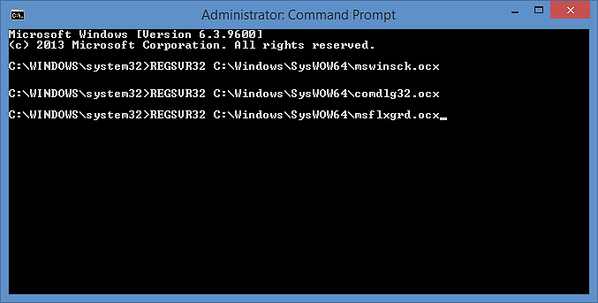
Figure 7: Manually Registering the msflxgrd.ocx File
Step 6: The following message will be shown to indicate that the DllRegisterServer in C:\Windows\SysWOW64\msflxgrd.ocx succeeded. Click OK to exit.
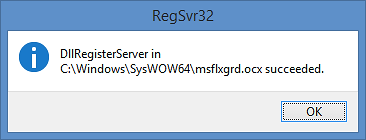
Figure 8: The DllRegisterServer in C:\Windows\SysWOW64\msflxgrd.ocx succeeded Message
Step 7: All the ocx files have been registered successfully.


