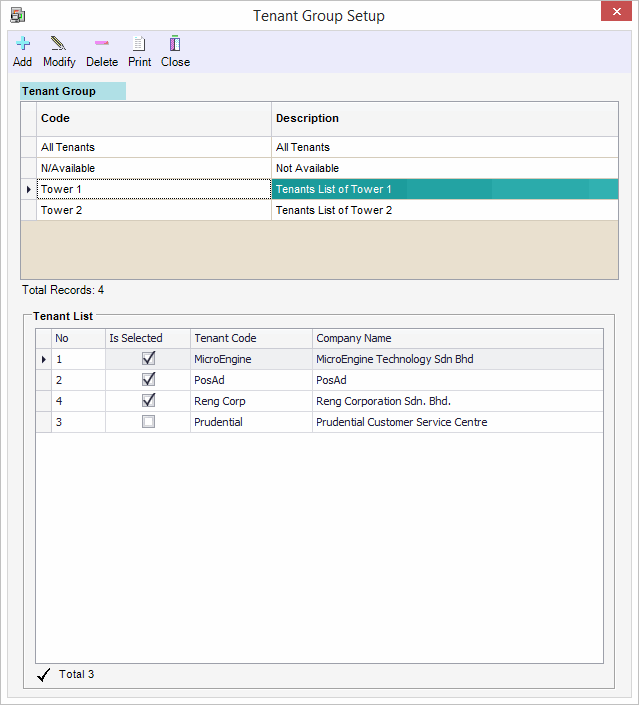
How to Configure Tenant Group in xPortalNet Software
Problem (Issue) Statement: | How to Configure Tenant Group in xPortalNet Software |
Description: | A guide to configure the Tenant Group. It allow user to group the tenant. User have to configure the list of tenants before can manage the grouping. |
Related Software: | xPortalNet v1.5.0.130 or higher |
Related Hardware: | NIL |
System Application: | Door Access System |
Symptom and Finding: | NIL |
Cause: | For first time guide to configure the Tenant Group in xPortalNet software. |
Solution: | Warning!
. . Summary. Step-by-step Guide:
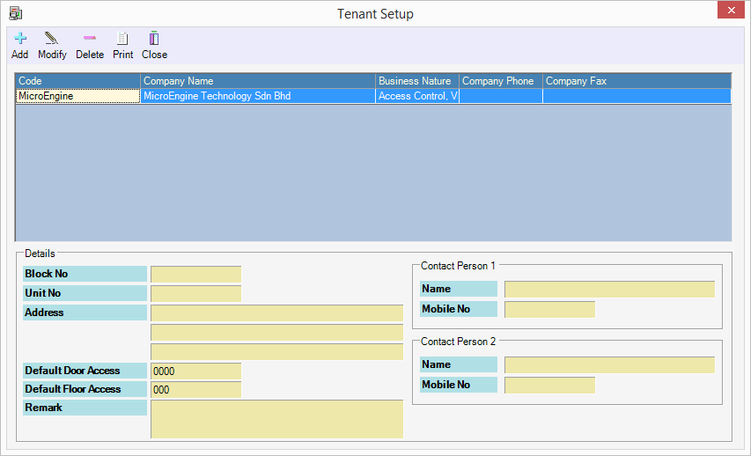
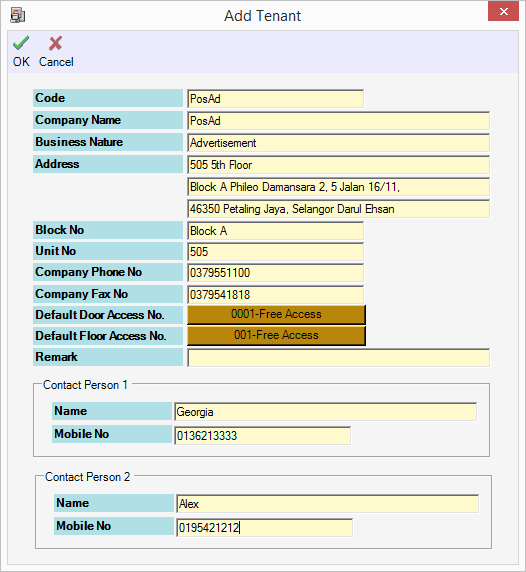
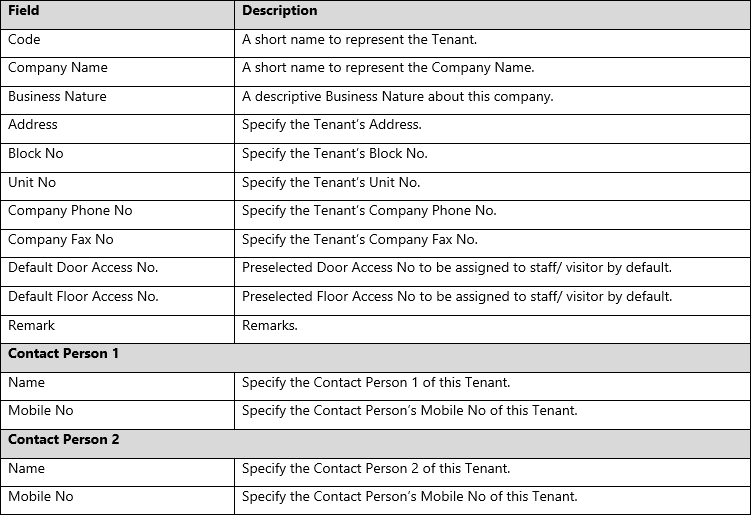
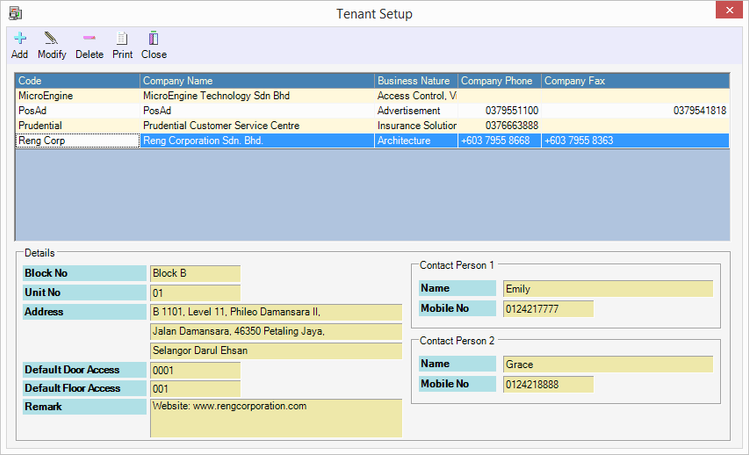
In these steps, user will be guided to create new Tenant record. Step 1: Login to xPortalNet Client. Step 2: Open Tenant setup. Go to Data Setup > System Setting > Tenant. Step 3: The following window will be shown. Click Add to add new tenant record. Step 4: The following window will be shown. Fill up the details of the tenant accordingly.
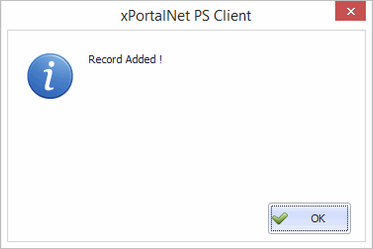
Step 5: Click OK to confirm and save the changes. "Record Added !" message will be shown. Click OK. Step 6: The Tenant record is successfully added. Repeat the steps for next tenant records.
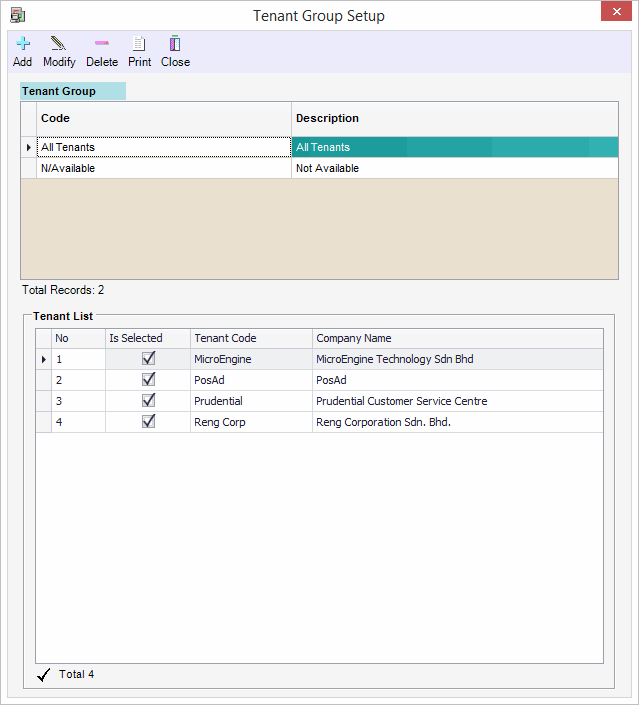
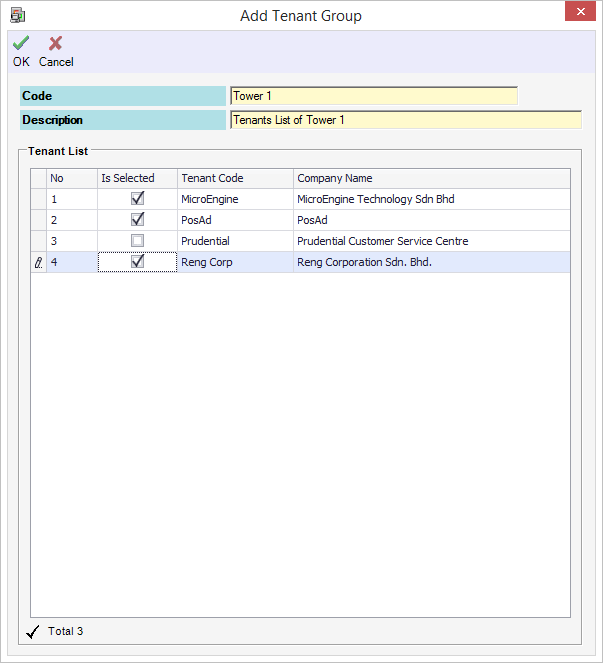
In these steps, user will be guided to manage grouping of tenants. Step 1: Login to xPortalNet Client. Step 2: Open Tenant Group setup. Go to Data Setup > System Setting > Tenant Group. Step 3: The following window will be shown. Click Add to add new tenant group. Step 4: The following window will be shown.
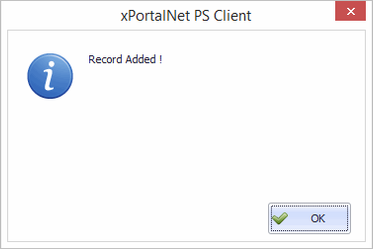
Step 5: Click OK to confirm and save the changes. "Record Added !" message will be shown. Click OK. Step 6: The Tenant Group is successfully added. Repeat the steps for next tenant group. |
Document Date | 19/07/2018 (Rev 1.0) |
PROOF-READ
.
.
.
Related content
© MicroEngine Technology Sdn Bhd (535550-U). All rights reserved.
