How to Add New Field in The Visitor Information in xPortalNet Software
Problem (Issue) Statement: | How to Add New Field in The Visitor Information in xPortalNet Software |
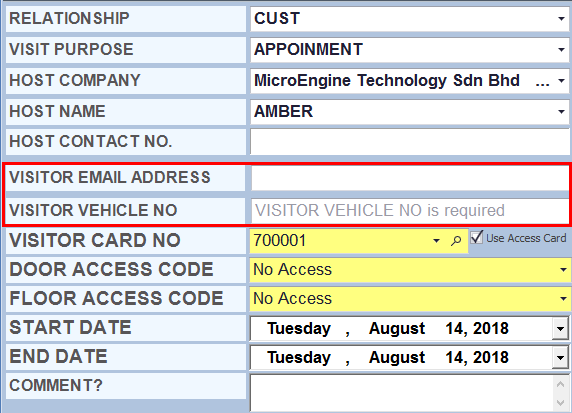
Description: | In this release, the software has been improved to allow user to configure up to 8 user defined fields. These user defined field can be used in VMS module in xPortalNet Software. User can define the maximum length of the field and also specify which field is mandatory. |
Related Software: | xPortalNet v1.5.0.155 or higher |
Related Hardware: | NIL |
System Application: | Visitor Management System |
Symptom and Finding: | NIL |
Cause: | NIL |
Solution: | Warning!
. . Summary
Step-by-step Guide:
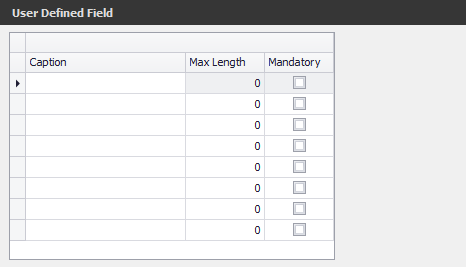
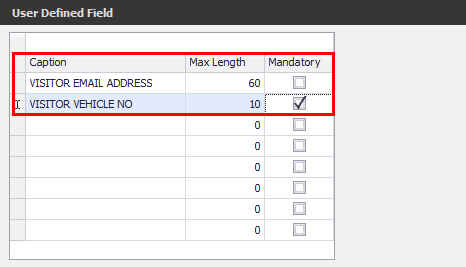
In these steps, user will be guided to add new user defined field. Step 1: Run xPortalNet Server. Step 2: Go to Server Admin > System Properties. Step 3: The System Properties window will be shown. Click the Miscellaneous tab. Step 4: Go to User Defined Field as shown below. Step 5: Fill up the information accordingly.
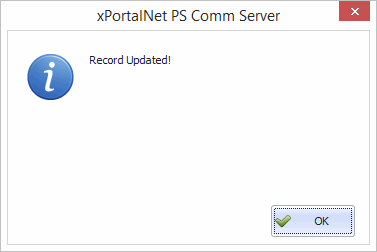
Step 6: Click OK to confirm and save changes. "Record Updated!" message will be shown.
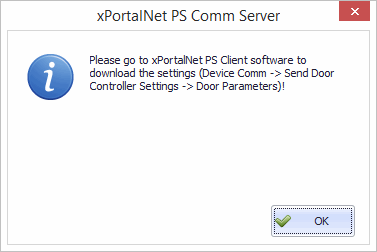
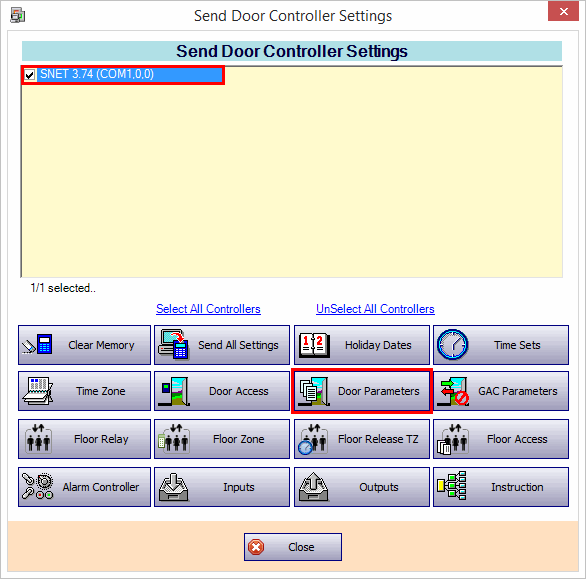
Step 7: Login to xPortalNet Client software and download the settings. Step 8: Login to xPortalNet Client software. Step 9: Go to Device Comm > Send Door Setting > Door Parameters. Step 10: Sign in the Visitor.
Knowledge Base Link See article How to Setup Visitor Management System on xPortalNet Software for detail steps to sign in the visitor. |
Document Date | 14/08/2018 (Rev 1.0) |
PROOF-READ
.
.
.
© MicroEngine Technology Sdn Bhd (535550-U). All rights reserved.
