How to Configure a Temporary Card to Replace a Lost Staff Card
Problem (Issue) Statement: | How to configure a temporary card to replace a lost staff card |
Description: | A staff lost his staff access card. System users can configure a Temporary Card for the staff while waiting for the replacement staff access card. Temporary Card is created for temporary card user only. For example if the staff misplaced their access card, we can produce one temporary card immediately to allow the user to access to the door. After the temporary card has been assigned to the staff profile, the card can be changed or unassigned within the activation period. The Check Card Expiry Function Enable feature has to be activated to allow the system to check the expiry of the temporary card used on selected controllers. |
Related Software: | xPortalNet v1.5.0.96 or higher |
Related Hardware: | NIL |
System Application: | Door Access System |
Symptom and Finding: | NIL |
Cause: | NIL |
Warning!
. . Summary
. Step-by-step Guide:
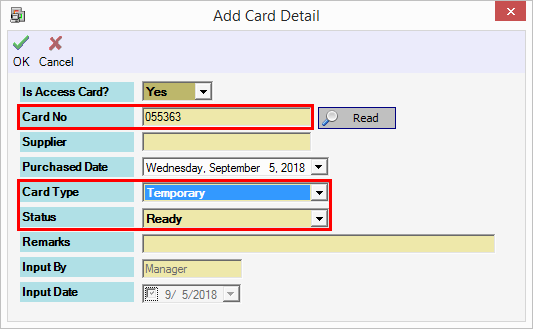
In these steps, user will be guided to create the Temporary Card. Step 1: Run the xPortalNet Client. Step 2: Go to Data Setup > Access Data Setting > Card Records. Step 3: Click Add to create new Temporary Card. Step 4: At Add Card Detail, please configure the following:
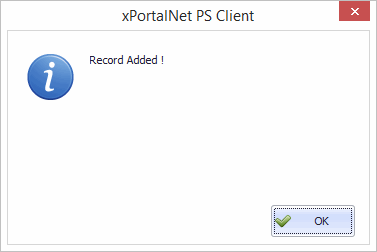
Step 5: Click OK to confirm and save the changes. Step 6: Repeat the steps to add next Temporary Card. . .
In these steps, user will be guided to assign the Temporary Card to the Staff Profile. Step 1: Go to Data Setup > Access Data Setting > Staff Records. Step 2: Select the staff to be assigned with the Temporary Card and click Modify. Step 3: At Temporary Card section, select the Card No from the list. Step 4: When the Card No is selected, the Start Date, End Date and Activate will be enabled. Please configure the date according to your preferences. Information After Card No is assigned, the date range will be automatically set to one day. The card is activated by default. Make sure the card is activated prior to using it.
Step 5: Click OK to confirm and save changes. .
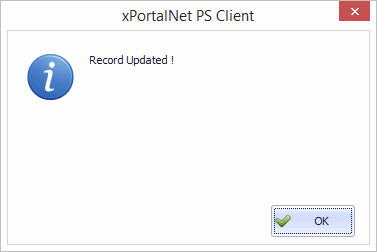
In these steps, user will be guided to change the Temporary Card which has been assigned to the Staff Profile. This action can be done within the activation period only. Step 1: At Temporary Card section, click Change to select different Card No. Step 2: Assign new Card No. Then click OK to save the changes. Step 3: Flash card to the reader and check the transaction. . . . To Enable the Temporary Card Expiry Date Checking: In these steps, user will be guided to enable the Temporary Card Expiry Date Checking. Step 1: Go to Data Setup > System Setting > Controller. Step 2: Set the Check Card Expiry Function Enable to Yes. Step 3: Click OK to confirm and save the changes. Step 4: When user flash card after the pre-defined End Date in the Temporary Card settings, the following transaction will be shown.
In these steps, user will be guided to unassigned the assigned temporary card so that it can be used by other staff. Important The Start Date, End Date and Activate settings are only supported by controller models as listed below:
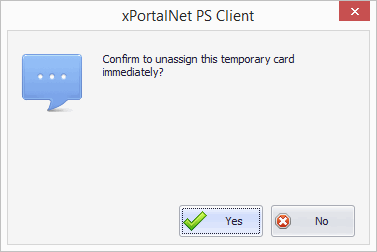
If you are using other controller models, you need to unassign the temporary card when the card has expired / inactive in order to revoke access from controller(s). Step 1: At Temporary Card section, click UnAssign to unassign the temporary card. Step 2: You will be prompted to confirm to unassign the temporary card. Click Yes. Step 3: Successfully unassigned temporary card. Step 4: Finished. | |
Document Date | 05/09/2018 (Rev 1.0) |
PROOF-READ
.
Related Articles.
Containing the label "xportalnet" AND "setup-guide" with the title containing the phrase "card user"
.
.
Related content
© MicroEngine Technology Sdn Bhd (535550-U). All rights reserved.


