Why xPortalNet Software Failed to Send the Test Email for Email Notification Feature
| Problem (Issue) Statement: | Why xPortalNet software failed to send the test email for Email Notification feature |
| Description: | Users failed to send the Test Sending Email in order to test the setup for Email Notification feature. |
| Related Software: |
|
| Related Hardware: | NIL |
| System Application: | NIL |
| Symptom and Finding: | After clicking Test Sending Email, the xPortalNet software prompted the following error messages:
|
| Cause: |
|
| Solution: | Warning!
. . Summary:
. Step-by-step Guide:
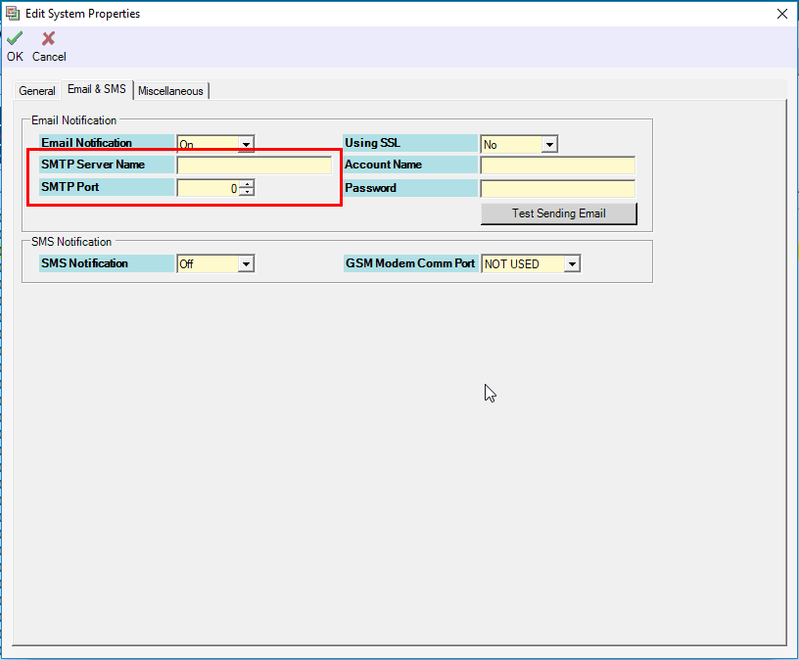
Step 1: Go to xPortalNet Server > Server Admin > System Properties > Modify. The Edit System Properties window will be shown. Click Email & SMS tab. Step 2: The Email & SMS tab will then be shown. At the Email Notification field, click on the drop-down dialog box and select "On". Click OK to save the changes. Step 3: The software will then prompt the following message windows to indicate that the record is updated and to remind users to download the settings to the respective controllers.
Step 4: Back at the System Properties window, click Close to exit from the window. . .
Step 1: Go to xPortalNet Server > System Properties > Modify > Email & SMS tab. The Email & SMS window will be shown. Ensure that the information entered under Account Name and Password are valid. Step 2: Go to xPortalNet Server > Server Admin > Notify User > Add. The Add Notification window will be shown. Ensure that the correct email address is entered at the Email Address field. Click OK to save the changes. Step 2: Back at the Notification Setup window, click Close to exit the window. . .
Step 1: Go to xPortalNet Server > System Properties > Modify > Email & SMS tab. The Email & SMS window will be shown. Ensure that the information entered in the SMTP Server Name and SMTP Port fields are correct. . Step 2: Click here for more information regarding SMTP Server Name and SMTP Port. |
| Common Issues: | NIL |
| Porting Date: | 1/3/2019 |


PROOF-READ
.
.
.
© MicroEngine Technology Sdn Bhd (535550-U). All rights reserved.