Summary
To add DESFire card user in xPortalNet HS software.
Step-by-step Guide:
To add DESFire card user in xPortalNet HS software:
Step 1: Ensure that the HID OMNIKEY 5421/ 5422 desktop reader is connected to PC and the device driver is installed before processing with the next step.
Step 2: Go to xPortalNet HS Client > Data Setup > Access Data Setting > Staff Record > Get Now!
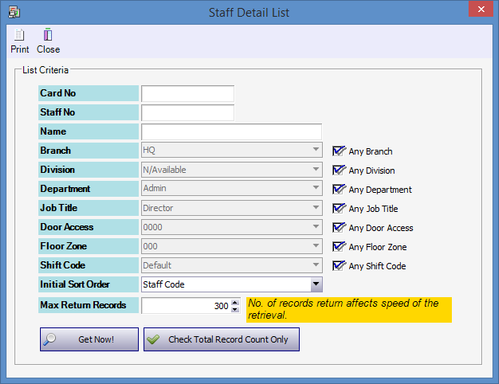
Figure 1: Get Now! Icon in Staff Detail List Window
Step 3: Click Add to Add new card user. The Add Staff Detail window will be shown as below.
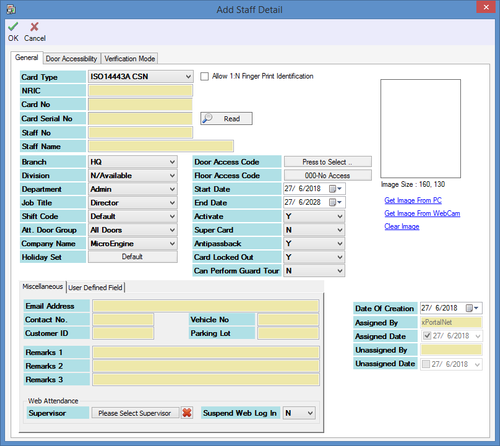
Figure 2: Add Staff Detail Window
Step 4: Under the Card Type field, select DESFIRE.
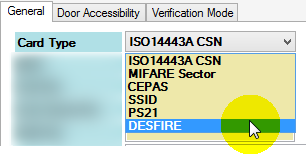
Figure 3: Selecting DESFIRE as the Card Type
Step 5: Next, place the DESFire® card on OMNIKEY card reader and click Read to read the Card Serial Number of the DESFire® card. The software will automatically fill in the Card Serial Number field once the serial number is read from the card.
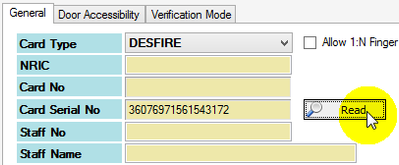
Figure 4: Reading the DESFire Card Serial Number
Step 6: System users can now create the Card ID under the Card No field (default card number length is 20-digits) and fill in the other fields as necessary in the General tab as below.
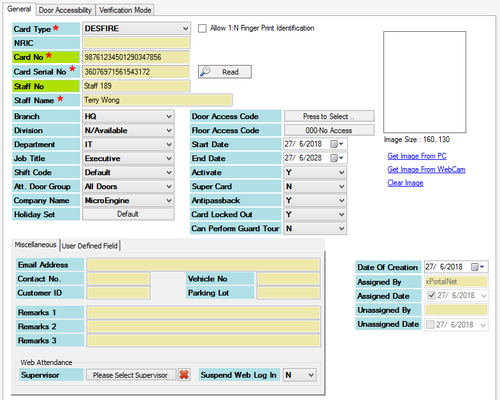
Figure 5: Filling up the Staff Information in the General Tab
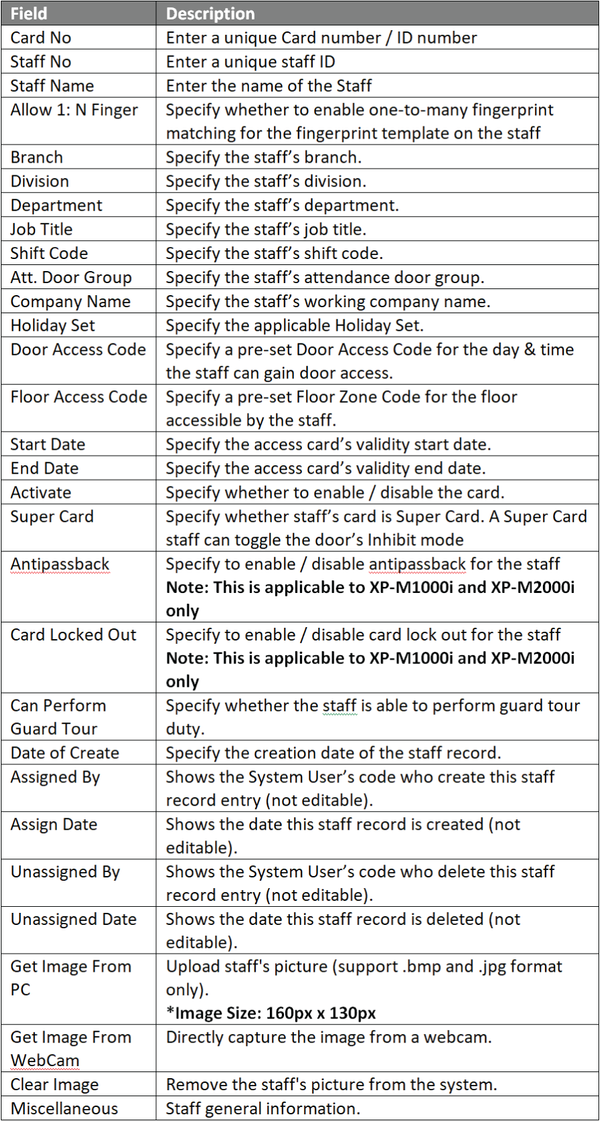
Step 7: Next, users have to assign a door accessibility level for the newly added staff. At the Add Staff Detail window, click Press to Select .. under the Door Access Code field. The Select Door Access window will be shown as below. Check the door accessible by the staff and click OK to continue.
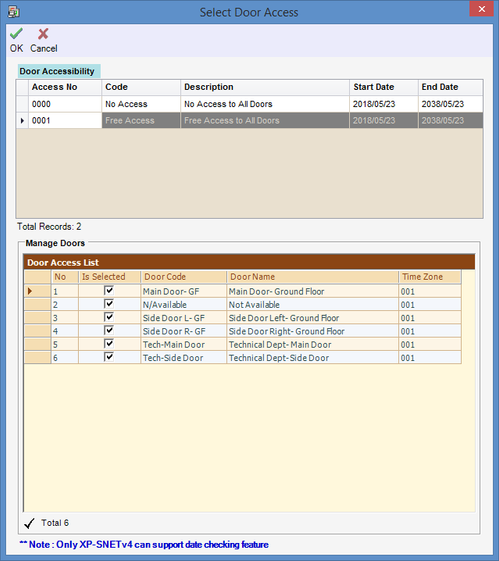
Figure 6: Select Door Access Window
Step 8: Select the verification mode by Door for this card user at Verification Mode tab and click OK to continue.
Step 9: The following message window will be shown to indicate that the Record is Added. Click OK to continue.
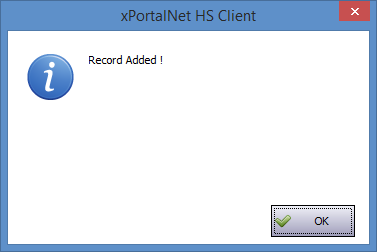
Figure 7: Record Added Window
Step 10: The Send Data and Command window will be shown. Please wait for the Send Data and Command process to complete before clicking Close.
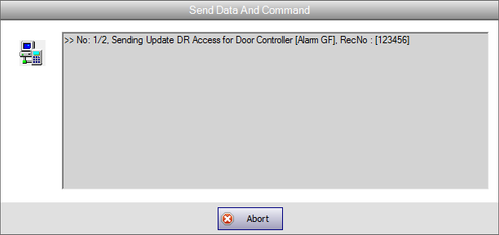
Figure 8: Send Data and Command Window
Step 11: Ensure that the newly added staff record is listed in the Staff Detail Setup window.
.
Step 12: Users can now program the Card ID number into the DESFire cards for the newly added staff record.


