How to Create a New Floor Plan Template in xPortalNet Software
Problem (Issue) Statement: | How to Create a New Floor Plan Template in xPortalNet Software |
Description: | In this release, the software has been improved with a new feature called Floor Plan Template. It comes with a Default Template but also allows users to create their own template. In the template, users can choose their own icon to be assigned according to the Icon Type selected. Eg: Camera, Controller, Door, Input, Output and etc. This Floor Plan Template can be used in Floor Plan Setup. |
Related Software: | xPortalNet v1.5.0.150 or higher |
Related Hardware: | NIL |
System Application: | Door Access System |
Symptom and Finding: | NIL |
Cause: | NIL |
Solution: | Warning!
. . Summary
Step-by-step Guide:
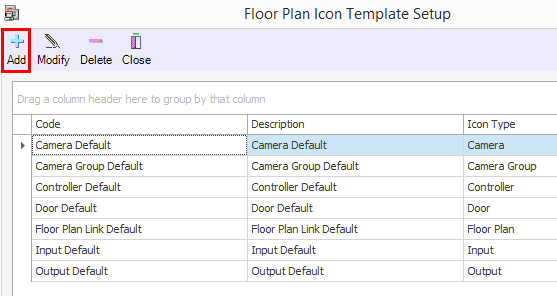
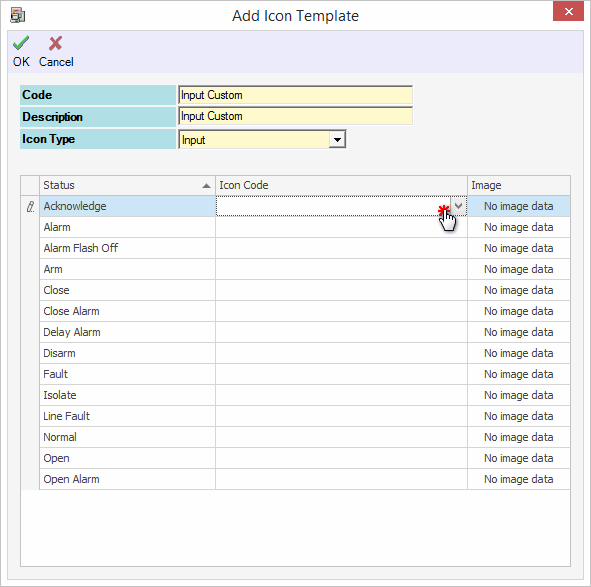
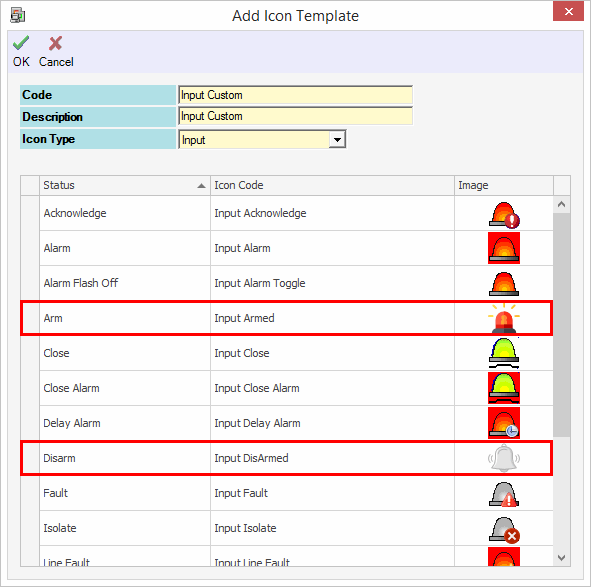
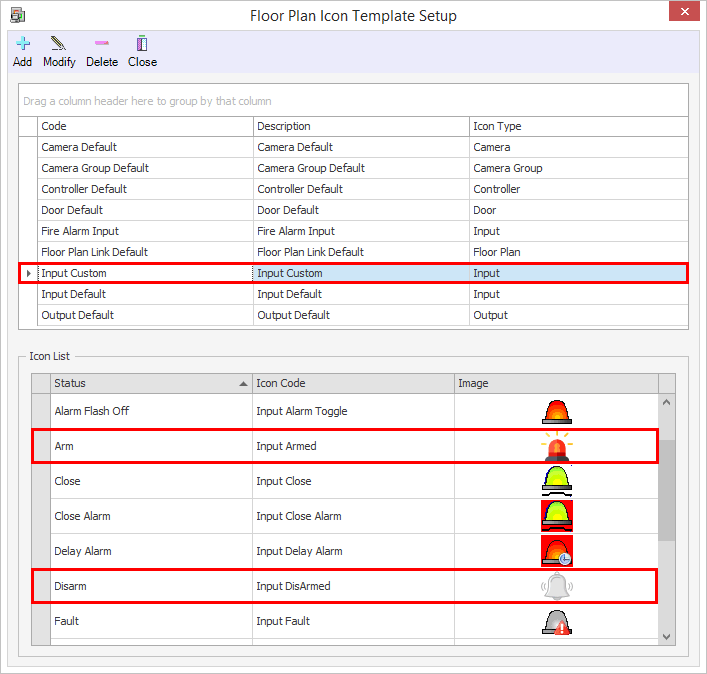
In these steps, user will be guided to create a new Floor Plan Template. Information Please add new Floor Plan Icon from the Floor Plan Icon Library prior to proceeding with the following steps. . Step 1: Run xPortalNet Server. Step 2: Go to Data Setup > System Setting > Floor Plan Configuration > Floor Plan Icon Template. Step 3: Click Add. Step 4: Fill up the Code, Description and select the Icon Type for this Floor Plan Template. Step 5: Then choose the Icon Code that you wish to assign for every Status in this template. Step 6: In this step, we will select a new icon for "Arm" and "Disarm" statuses.
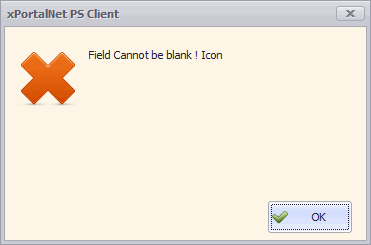
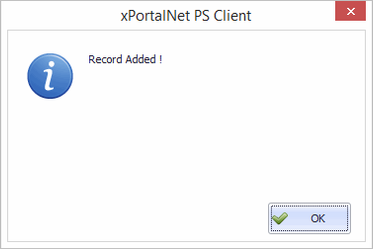
Step 7: Once all the Icon Code has been selected, click OK. Important Please make sure that all Icon Code is selected. Otherwise you will get the following error message. . Step 8: The "Record Added" message will be shown. Step 9: You have successfully added new Floor Plan Template. Step 10: Finished. |
Document Date | 23/08/2018 (Rev 1.0) |
PROOF-READ
.
.
.
Related content
© MicroEngine Technology Sdn Bhd (535550-U). All rights reserved.
