Problem (Issue) Statement: | How to Install the Redundancy Service |
Description: | The Redundancy Service is used to auto replicate the database in real-time basis when changes are detected. User must configure 2 servers which are Standby Server and Active Server prior to running the Redundancy Service. Standby Server will then be able to take over when the Active Server is down.
|
Related Software: | xPortalNet HS Redundancy Service v1.8.0.1 or higher |
Related Hardware: | NIL |
System Application: | Door Access System |
Symptom and Finding: | NIL |
Cause: | NIL |
Solution: | Summary
Step-by-step Guide:
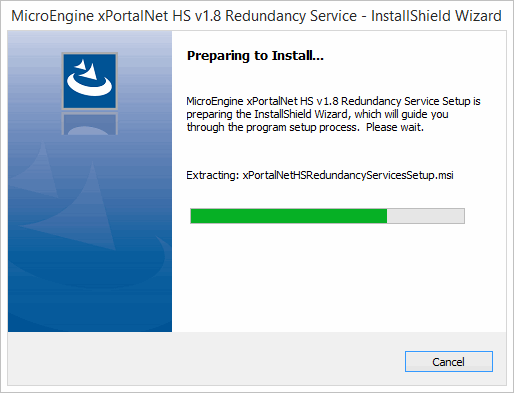
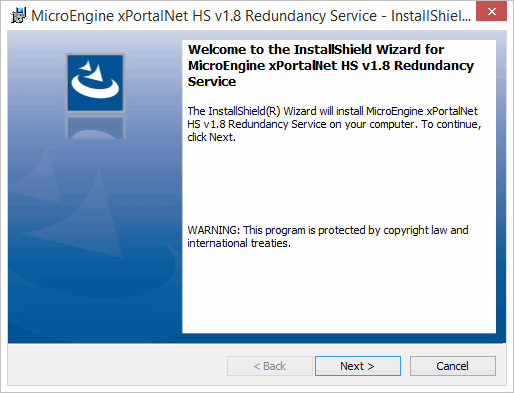
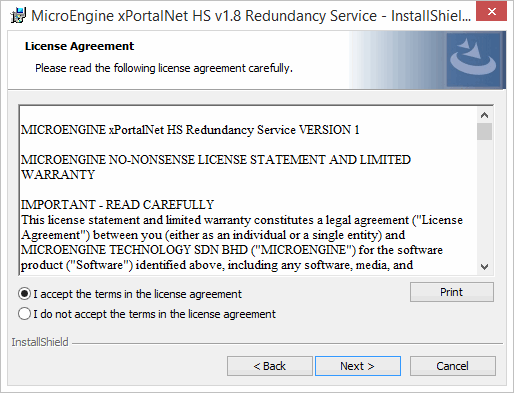
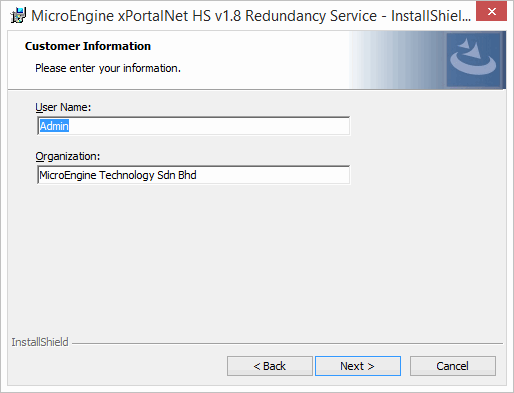
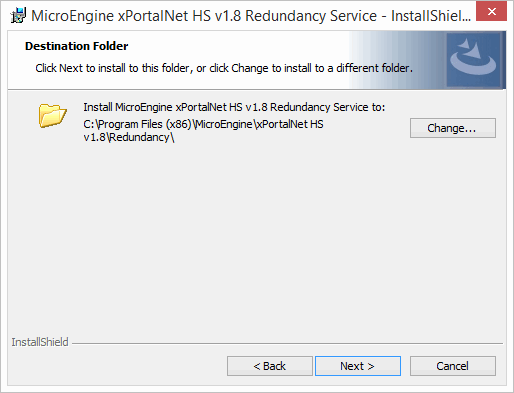
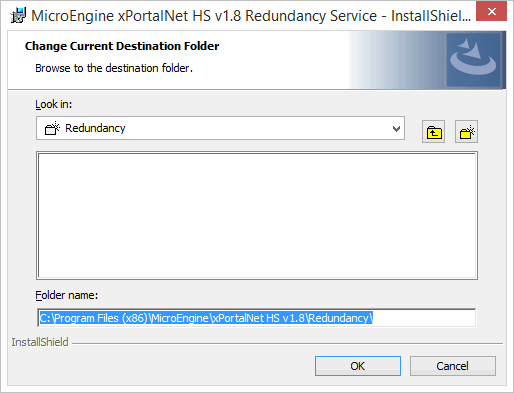
In these steps, user will be guided on how to install the Redundancy Service. Step 1: Run the xPortalNet HS Redundancy Service.exe Step 2: The following window will be shown. Step 3: Wait for a while until the InstallShield Wizard window is shown. To continue, click Next. Step 4: The License Agreement window will be shown. Please read the license agreement carefully and accept the terms to continue. Step 5: The Customer Information window will be shown. Please enter the information and then click Next to continue. Step 6: The Destination Folder window will be shown. Please specify the installation folder by clicking Change... button, then click Next to continue. Installation Folder
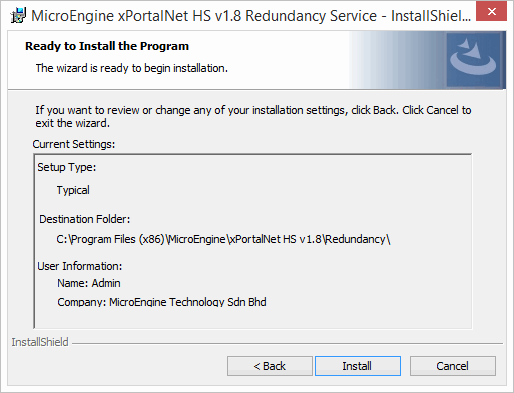
Step 7: The Wizard is ready to begin the installation. Please make sure the installation settings are correct.
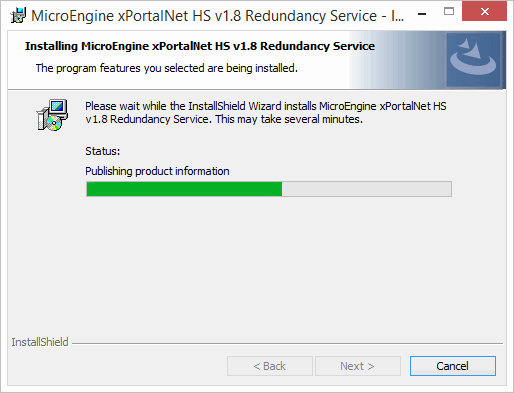
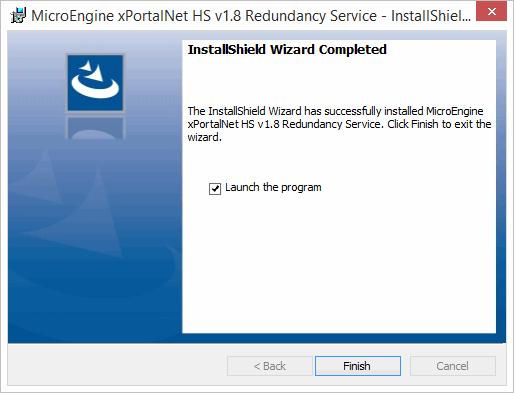
Step 8: Please wait until the installation completes. Step 9: The installation has been completed. Click Finish to launch the program. Step 10: The status of the service can be seen from the System Tray. The status should be Running. |
Document Date | 14/08/2018 (Rev 1.0) |
PROOF-READ
