Summary:
To manually install Microsoft .NET Framework 1.1 on Windows 10, Windows 8, Windows 7, Windows Vista and Windows Server 2018.
Step-by-step Guide:
To manually install Microsoft .NET Framework 1.1 on Windows 10, Windows 8, Windows 7, Windows Vista and Windows Server 2018:
Step 1: Create a new folder and rename it DotNet in C drive (C:\DotNet is used in this guide; users can change to any preferred folder, but ensure that the same folder location is referred to in the following steps).
Step 2: Download Microsoft .NET Framework 1.1 Redistributable Package (dotnetfx.exe). Make sure the setup file is saved as dotnetfx.exe.
Step 3: Download Microsoft .NET Framework 1.1 Service Pack 1 (NDP1.1sp1-KB867460-X86.exe). Make sure that the file is renamed and saved as dotnetfxsp1.exe.
Step 4: Move both installation files into the same directory C:\DotNet.
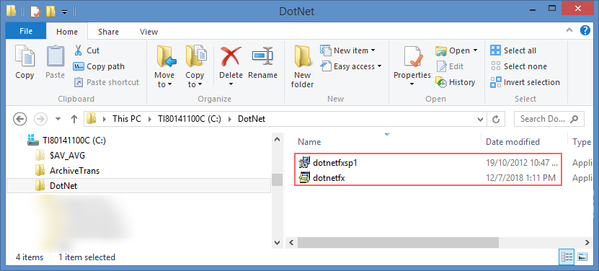
Figure 1: DotNet Folder in C Drive
Step 5: Run Command Prompt as Administrator, the Administrator Command Prompt window will be shown as below:
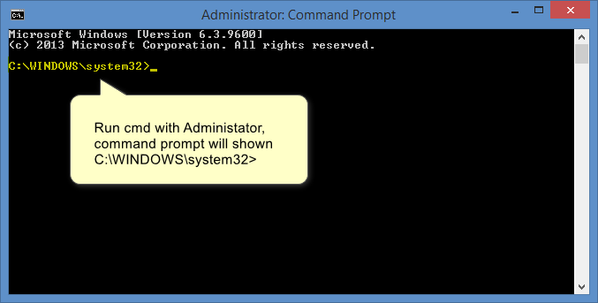
Figure 2: Running Command Prompt as Administrator
Step 6: Type cd C:\DotNet and press enter.
Step 7: Type dotnetfx.exe /c:"msiexec.exe /a netfx.msi TARGETDIR=C:\DotNet" and press enter.
Step 8: The Microsoft .NET Framework 1.1 Setup window will be shown as below. Click Yes to continue the installation.
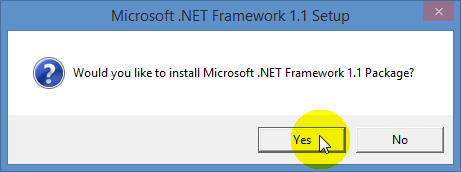
Figure 3: Microsoft .NET Framework 1.1 Setup
Step 9: Wait for the installation process to complete. Upon completion, the following message window will be shown:
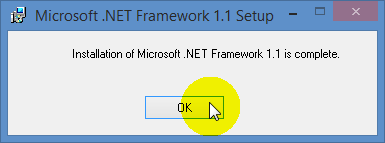
Figure 4: Installation of Microsoft .NET Framework 1.1 is Complete Window
Step 10: Type dotnetfxsp1.exe /Xp:C:\DotNet\netfxsp.msp to the Command Prompt and press enter. No message will appear for this command.
Step 11: Type msiexec.exe /a c:\DotNet\netfx.msi /p c:\DotNet\netfxsp.msp and press enter. The following window will be shown.
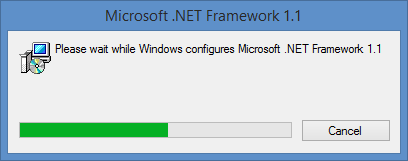
Figure 5: Microsoft .NET Framework 1.1 Setup Window
Step 12: Wait for the setup to complete and close automatically.
Step 13: Install Microsoft .NET Framework 1.1 with slipstreamed / integrated Service Pack 1 by running netfx.msi extracted in the same folder.
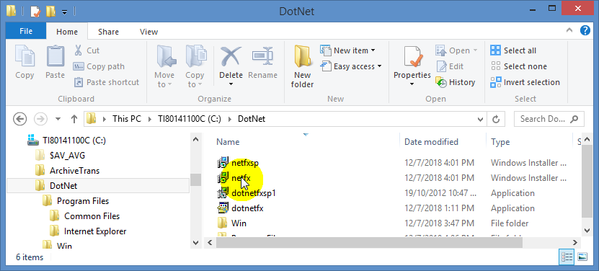
Figure 6: netfx.msi File in the DotNet Folder
Step 14: The following window will be shown. Wait for the setup to complete and close automatically.
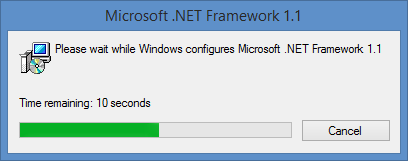
Figure 7: Microsoft .NET Framework 1.1 Setup Window
Step 15: The following screenshot of the Command Prompt window shows all the typed commands as reference for users.
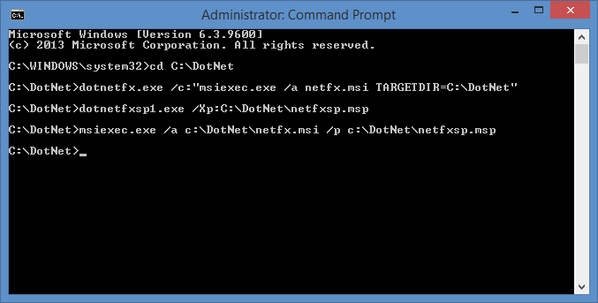
Figure 8: All Typed Command in Command Prompt Window
Step 16: To confirm .NET Framework is installed correctly, go to Control Panel > Program and Features for verification.
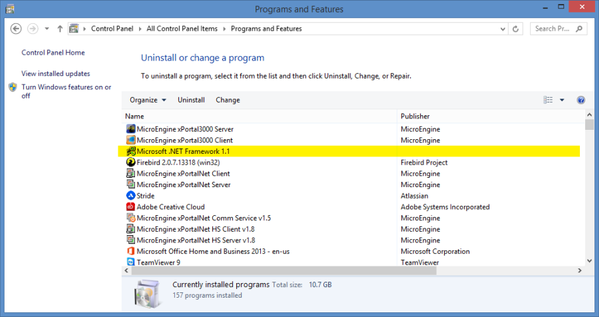
Figure 9: Visual Verification that the .NET Framework is Installed Correctly


